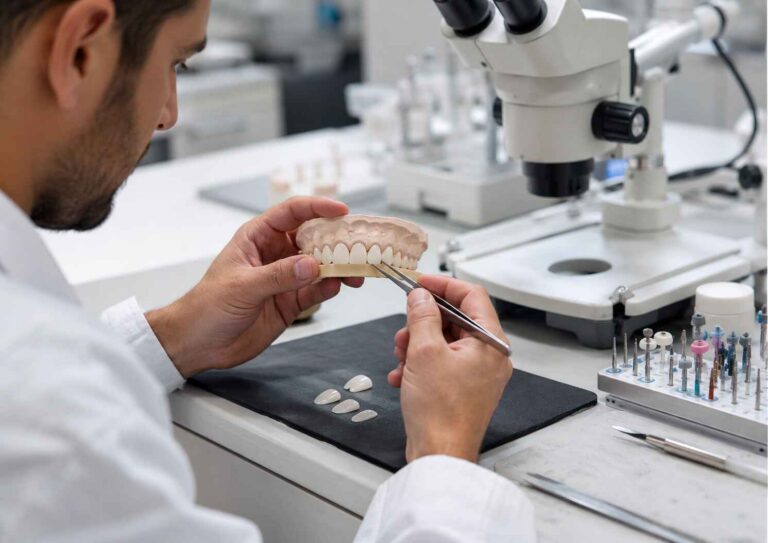
Replacing One Veneer in a Multi-Unit Case: Shade and Texture Matching Strategies
One veneer exposes.
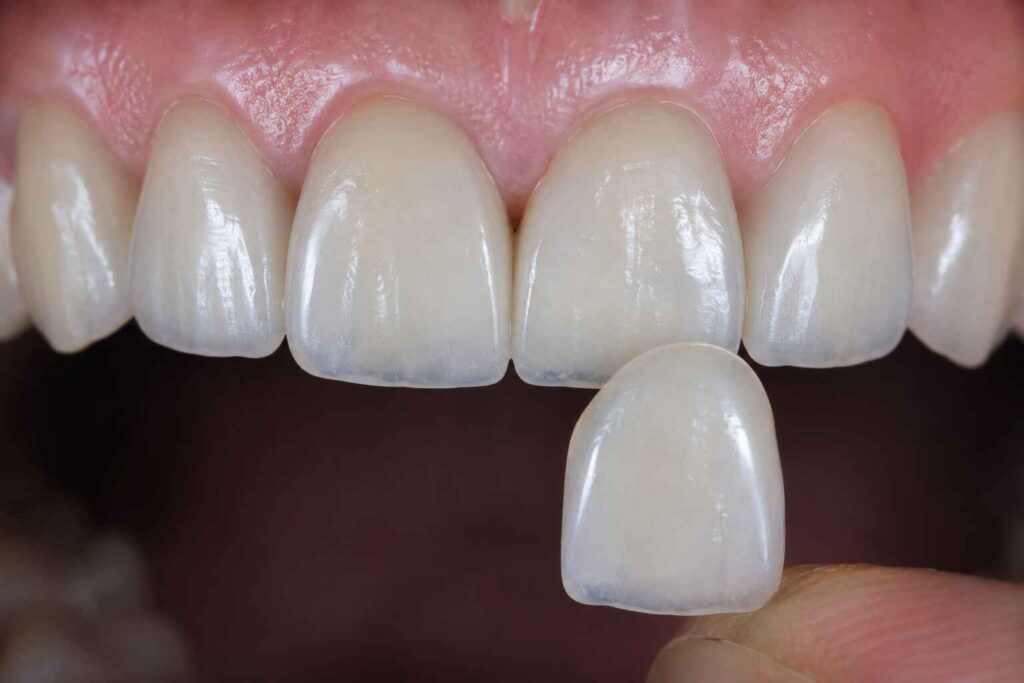
When a single unit must re-enter a six-, eight-, or ten-unit veneer case, the technician is no longer creating a smile from one controlled recipe; we are reverse-engineering bonded ceramic, preparation color, cement influence, surface wear, polishing history, and optical decisions made years earlier.
How could one shade code solve that?
It cannot.
I consider single veneer replacement one of the most unforgiving assignments in anterior dentistry. A full multi-unit case permits controlled symmetry, shared material selection, coordinated ceramic thickness, and one finishing protocol. A replacement veneer receives none of those advantages. It must fit into a system that already exists.
The hard truth is simple: matching the original laboratory prescription may still produce the wrong restoration. The clinical target is not the veneer as it appeared on delivery day. The target is the veneer case as it appears now.
Why Single Veneer Replacement Is an Optical Reconstruction
A veneer does not display one static color. Its appearance is produced by a stack of interacting variables:
The prepared tooth
Resin cement
Ceramic composition
Ceramic thickness
Internal layering or staining
Translucency and opacity
Facial contour
Line angles
Surface texture
Final gloss
Adjacent teeth and gingiva
The dark oral background
Change one variable and the replacement may separate visually from the case.
A new veneer can carry the same A1, B1, 1M1, or BL3 designation as the surrounding units and still appear brighter, grayer, wider, flatter, or more opaque. That is why our guide to why value matters more than the shade tab in veneer esthetics treats the shade tab as a reference label rather than a complete optical prescription. Value gradients, stump shade, ceramic thickness, cement, translucency, texture, and gloss still have to be communicated separately.
The Existing Veneers Are the Primary Reference
In a conventional veneer case, the clinician may use natural contralateral teeth, diagnostic designs, provisionals, facial references, and shade tabs to establish the target.
A replacement case is different.
The surrounding veneers become the reference set. The technician must read their:
Cervical-to-incisal value transition
Body chroma
Incisal translucency
Halo intensity
Mamelon visibility
Facial convexity
Reflective-zone width
Line-angle position
Macrotexture
Microtexture
Gloss level
Degree of wear
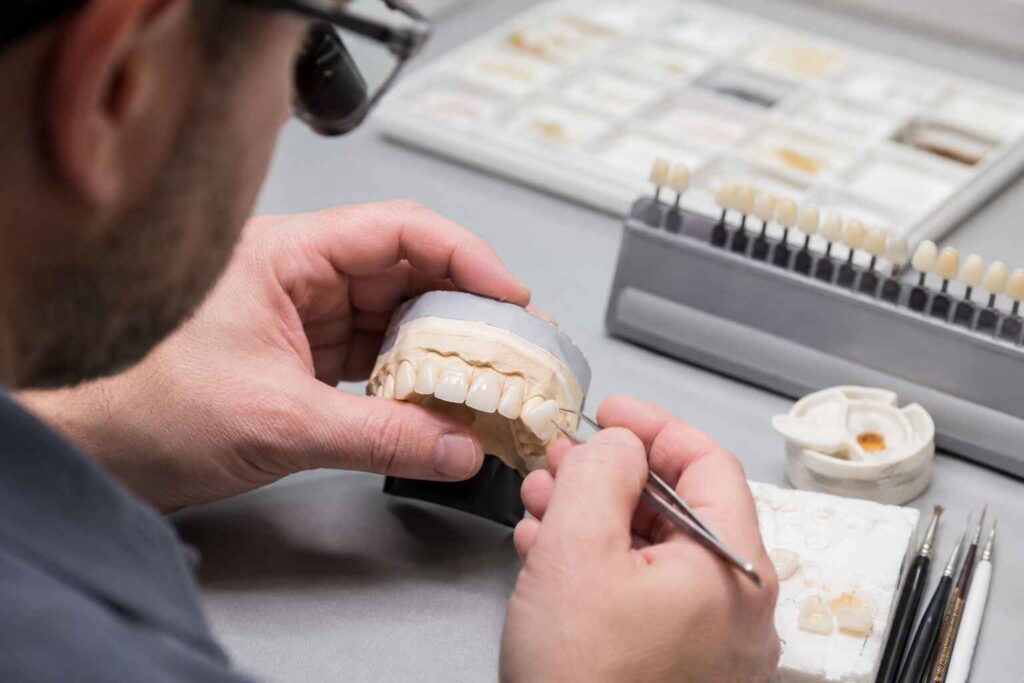
I would not ask the laboratory to “match the existing veneers” without showing those veneers under several lighting and viewing conditions. That instruction sounds specific. It is not.
The Original Material Name Is Not Enough
Suppose the original case was made from lithium disilicate, chemically represented by Li₂Si₂O₅. Ordering another lithium-disilicate unit does not automatically reproduce the original result.
The old veneers may have been:
Monolithic and externally stained
Cut back and layered
Pressed rather than milled
Fabricated at a different thickness
Glazed at a different firing schedule
Mechanically polished after clinical adjustment
Bonded over different stump shades
Cemented with a warm, neutral, bright, or opaque resin
The same problem applies to feldspathic porcelain and zirconia, or ZrO₂. Material family matters, but material identity alone does not recreate the restoration.
Artist Dental Lab’s case-based comparison of E.max, zirconia, and feldspathic veneers separates these ceramics by translucency, masking needs, bonding conditions, functional demand, and characterization potential rather than pretending one ceramic is universally superior.
Veneer Shade Matching Starts With Value, Not the Letter on the Tab
The first diagnostic question should not be, “Is this A1 or A2?”
It should be, “Where is the replacement too light or too dark?”
Value—the relative lightness or darkness of a restoration—usually announces a mismatch before hue does. A replacement veneer with excessive value can look chalky, broad, flat, or newly manufactured. A low-value unit can appear gray, narrow, recessed, or lifeless.
This is not a minor academic distinction.
A prospective multicenter study published in 2015 established CIEDE2000 color-difference values of ΔE₀₀ = 0.8 for the 50:50 perceptibility threshold and ΔE₀₀ = 1.8 for the 50:50 acceptability threshold. In practical terms, a difference above 0.8 may be noticed by half of observers, while a difference around or above 1.8 may be rejected by half. Read the multicenter dental color-threshold study for the complete methodology.
Those numbers are not a promise that every patient will accept a veneer at ΔE₀₀ 1.7. A patient who has paid for an anterior replacement and knows exactly which tooth was remade is not a blinded laboratory observer.
Attention changes perception.
Record the Veneer in Three Vertical Zones
A single middle-third reading is insufficient for a highly characterized replacement.
Record the existing veneer by zone:
Cervical third: value, warmth, saturation, opacity, and gingival reflection
Middle third: dominant body value, chroma, and reflective-zone width
Incisal third: translucency, halo, mamelons, opalescence, and oral-background influence
A replacement may match the middle third perfectly and still fail because its cervical region is too bright or its incisal region is too transparent.
The laboratory needs a map, not a label.
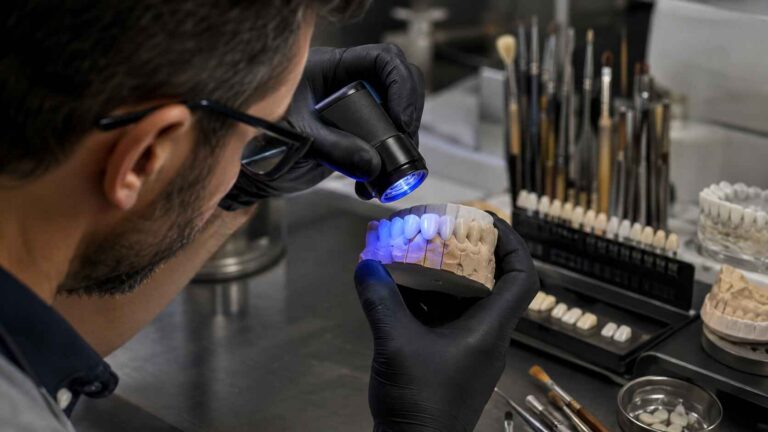
Use Instruments, But Do Not Worship Them
Spectrophotometers provide repeatable L*, a*, and b* data:
L* represents lightness
a* represents the red–green axis
b* represents the yellow–blue axis
That information is useful. It is not the whole tooth.
A 2017 study involving 13 patients and three restorations fabricated for each selected maxillary central incisor reported that the VITA Easyshade and Shadepilot spectrophotometers produced significantly better shade-matching results than the visual shade-guide method. The two instruments did not differ significantly from one another.
But newer evidence warns against treating any device as an automatic answer. A 2026 clinical study compared the Medit i700 intraoral scanner, trained visual observers, and VITA Easyshade across 48 teeth. Exact full-shade agreement was generally low, although value agreement improved substantially and value acceptability was typically above 80% within one value level of the reference. The authors recommended integrating scanner readings with spectrophotometric and controlled visual assessment.
My verdict? Use the instrument to challenge the eye, and use the eye to challenge the instrument.
The Stump Shade Can Destroy an Otherwise Good Match
Thin ceramic is not a painted wall. Light enters it.
That light interacts with the ceramic, resin cement, prepared tooth, and surrounding structures before returning to the observer. The final bonded color is therefore a combined optical result, not simply the ceramic shade selected at the laboratory.
This becomes especially aggressive at approximately 0.3 to 0.5 mm ceramic thickness.
A 2011 study found that changing the supporting substrate significantly altered the selected color of 0.5 mm ceramic laminate veneers, regardless of ceramic shade. The authors concluded that the color of the foundation can clinically influence the final result.
Why the Replacement Stump May Behave Differently
The tooth receiving the new veneer may have:
A darker preparation
More exposed dentin
An old composite build-up
Endodontic discoloration
Residual resin cement
A different reduction depth
A newly repaired margin
Reduced enamel thickness
So even when the adjacent veneers were fabricated from one ceramic batch, the replacement tooth may require a different opacity or layering strategy.
This is where lazy porcelain veneer color matching collapses. The technician is asked to match the facial appearance while working over a substrate that may be optically unrelated to the neighboring preparations.
Record the Stump Before It Dehydrates
The preparation should be photographed and recorded promptly after veneer removal and cleaning. Prolonged isolation can dehydrate the tooth and increase its apparent value.
Provide:
A stump-shade tab in the same plane as the preparation
A neutral exposure
A slightly darker exposure
An image of all preparations or neighboring restored teeth together
A written note identifying composite, dentin, enamel, and discoloration zones
The planned ceramic thickness
The intended resin-cement system
Without this information, the laboratory may compensate blindly with opacity. That can hide the stump and kill the vitality at the same time.
Texture Matching Is Shade Matching
Here is the opinion that irritates people: many “shade mismatches” are contour and texture mismatches wearing a color label.
A broad, highly polished facial surface returns a larger, brighter reflection. Narrow the reflective zone and the same ceramic can appear darker, slimmer, and deeper. Move the line angles and the apparent tooth width changes. Increase microtexture and reflected light becomes more fragmented.
Color has not necessarily changed.
Perception has.
The site’s detailed guide to veneer surface texture and natural light reflection separates primary contour, developmental lobes, grooves, perikymata, line angles, incisal detail, and controlled gloss. That distinction matters because a surface may carry anatomy while remaining appropriately polished.
Match Texture in Four Layers
1. Primary Form
Primary form includes facial convexity, emergence, overall length, incisal position, and the large planes that establish the tooth’s basic reflection.
Get this wrong and fine texture becomes decoration on the wrong shape.
2. Line Angles and Reflective Zones
Line angles control apparent width.
A replacement central incisor may have the same measured mesiodistal width as its partner yet appear wider because its transition zones sit too far proximally. The laboratory should compare both the physical outline and the illuminated facial zone.
3. Macrotexture
Macrotexture includes developmental lobes, vertical depressions, wear facets, and larger surface transitions.
These should be matched by location and intensity, not duplicated as a generic library pattern.
4. Microtexture and Gloss
Microtexture includes fine perikymata and subtle surface interruptions. Gloss controls the strength and sharpness of the reflected image.
A freshly glazed replacement beside veneers that have been clinically adjusted and mechanically polished may look conspicuously bright, even when its measured body color is close.
Determine whether the veneer fractured, debonded, chipped, developed marginal discoloration, lost contact, was over-adjusted, or was removed for biological reasons. The cause affects material choice, preparation design, thickness, bonding strategy, and functional risk.
Repeating the original veneer without diagnosing the original failure is not consistency. It is repetition.
Step 2: Photograph the Case Before Removal
The removed veneer may be the best reference available.
Capture:
Full-face repose and smile
Retracted frontal view
Right and left 45-degree views
Close frontal image
Incisal-edge view
Shade-tab images
Raking-light texture images
Short video with the light moving across the veneers
Photograph before removal, after removal, and during try-in.
Step 3: Preserve the Old Veneer When Possible
A fractured or debonded veneer can still reveal:
Ceramic thickness
Internal layering
Stain placement
Incisal effects
Surface treatment
Translucency
Cement color
The degree of clinical adjustment
Send it to the laboratory when clinically and logistically possible.
Step 4: Record the Existing Case as It Looks Today
Do not rely only on photographs from the original delivery.
The surrounding units may have accumulated polishing changes, wear, staining, altered gingival framing, or differences in surface gloss. The replacement should integrate with the present smile unless the patient and clinician have agreed to alter the entire case.
For enamel-rich cases requiring delicate layering, incisal characterization, and highly individualized microtexture, a hand-layered feldspathic veneer may offer more optical freedom. It also demands stronger records and stricter case selection.
Do not select the material by brand loyalty. Select it by:
Available space
Stump shade
Existing ceramic
Required opacity
Enamel support
Functional load
Surface-characterization demand
Laboratory capability
Step 6: Test the Cement, But Do Not Expect a Miracle
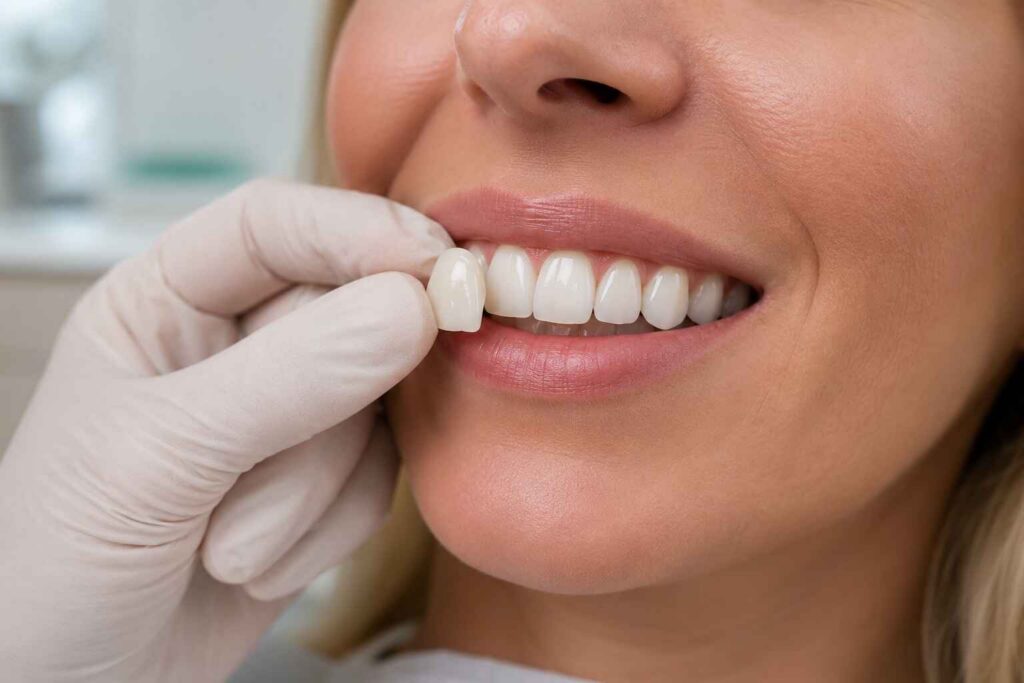
Try-in paste can help compare neutral, warm, bright, or opaque cement effects before bonding. This is useful in a thin veneer because cement can shift the final L*, a*, and b* coordinates.
But cement is not a repair tool for a veneer fabricated at the wrong value.
A bright paste cannot reliably rescue excessive translucency over a dark stump. An opaque paste cannot restore depth to a flat, over-masked ceramic. And a warm cement cannot fix incorrect cervical chroma distribution.
Use cement for refinement, not resurrection.
Step 7: Evaluate in Motion
Static frontal photographs hide problems.
Check the replacement:
At conversation distance
Under operatory lighting
Near daylight
With the lips moving
From both 45-degree angles
Under lateral or raking light
Against the dark oral background
After the tooth has rehydrated
A veneer that matches from one straight-on camera angle may fail the moment the patient turns their head.
When Matching One Veneer Is the Wrong Treatment Goal
Sometimes the honest answer is that one unit cannot be predictably matched.
That may occur when:
The original ceramic is unknown
The surrounding veneers have uneven aging
Several units already have marginal or structural defects
The existing case has inconsistent thickness or opacity
The old restorations were repeatedly adjusted
The patient expects an invisible match but rejects all detectable variation
Reproducing the old units would require biologically aggressive preparation
The remaining units no longer satisfy the patient’s esthetic goal
I would rather explain that limitation before treatment than call the fourth remake “almost perfect.”
Replacing additional units should not be used to cover weak laboratory communication. But preserving every existing veneer at any cost is not automatically conservative either. The biological condition, remaining enamel, patient expectations, financial impact, and long-term case stability all matter.
FAQs
What is veneer shade matching?
Veneer shade matching is the controlled process of reproducing the existing restoration’s value, chroma, hue, translucency, fluorescence, surface reflection, and substrate interaction so a new veneer belongs beside older units under clinical lighting, photography, conversation distance, and normal lip movement rather than merely sharing the same printed shade code.
The process should combine calibrated visual assessment, standardized photographs, stump-shade records, shade mapping, material selection, texture analysis, and try-in evaluation.
Why is replacing one veneer so difficult?
One veneer is difficult to replace because the laboratory must match a restoration that has already been fabricated, bonded, polished, worn, stained, and viewed within a fixed smile, while the new unit begins with different ceramic, thickness, firing, cement, and surface conditions that can alter its optical behavior.
A full case creates a shared visual system. A replacement must enter that system without changing it.
Why is stump shade important for a replacement veneer?
Stump shade is the measured color of the prepared tooth beneath the veneer, and it matters because thin feldspathic porcelain or lithium disilicate transmits enough light for the substrate and resin cement to change the final value, chroma, warmth, and masking requirement of the bonded restoration.
Each preparation should receive its own stump-shade photograph, even when the surrounding veneers were originally prescribed with one final shade.
Should a dentist use a spectrophotometer for veneer shade matching?
A spectrophotometer is an instrument that measures reflected light and converts it into standardized color data, but it should support rather than replace calibrated visual assessment, standardized photography, shade maps, and texture records because no single device fully captures translucency, gloss, line angles, or dynamic reflection.
The strongest workflow compares instrument readings with visual observations and photographic evidence instead of allowing one method to overrule every other record.
Can texture make a replacement veneer look like the wrong shade?
Texture can create an apparent shade mismatch because facial contour, line angles, microtexture, and gloss determine where light concentrates or disperses, making two restorations with similar color coordinates appear different in brightness, width, depth, and vitality when viewed from changing angles.
Before changing ceramic color, inspect the reflective-zone width, facial convexity, line-angle position, surface relief, and final polish.
Can resin cement fix a veneer shade mismatch?
Resin cement can shift the final color of a thin translucent veneer, but it should be treated as a controlled refinement layer selected with try-in paste, not as a rescue tool for incorrect ceramic value, opacity, thickness, layering, or substrate management.
If the veneer is visibly wrong before cement selection, the team should identify the ceramic or design error rather than burying it beneath a more aggressive cement shade.
When should the entire veneer case be replaced?
Replacing the full veneer case becomes more defensible when the remaining units are failing structurally, esthetically unstable, materially undocumented, repeatedly repaired, or impossible to match within an acceptable optical range, but the decision must consider enamel preservation, patient consent, function, cost, and the condition of every existing restoration.
A difficult match alone does not justify unnecessary removal. The clinician should balance restorative predictability against the biological cost of replacing serviceable veneers.
Send a Replacement Case the Laboratory Can Actually Match
Do not send one scan, one A1 prescription, and one phone photograph.
Send the pre-removal case, preparation scan, opposing arch, bite, original veneer or fragments, final shade map, individual stump shade, calibrated shade-tab photographs, raking-light texture images, moving-light video, ceramic history, cement information, occlusal notes, and a written statement identifying what must remain unchanged.
For laboratory material review, replacement-case assessment, or a controlled anterior trial, submit the complete veneer records to Artist Dental Lab. The contact workflow accepts STL files, intraoral scans, case photographs, shade records, prescriptions, and technical case details.
One veneer can be matched.
But only when the clinic stops treating “shade” as a color code and starts treating the existing smile as forensic evidence.