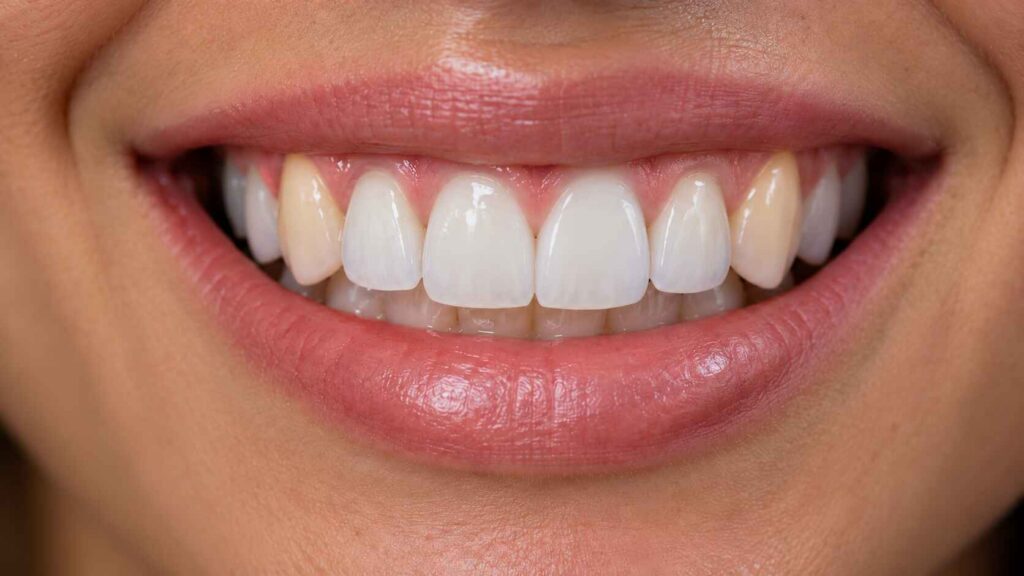
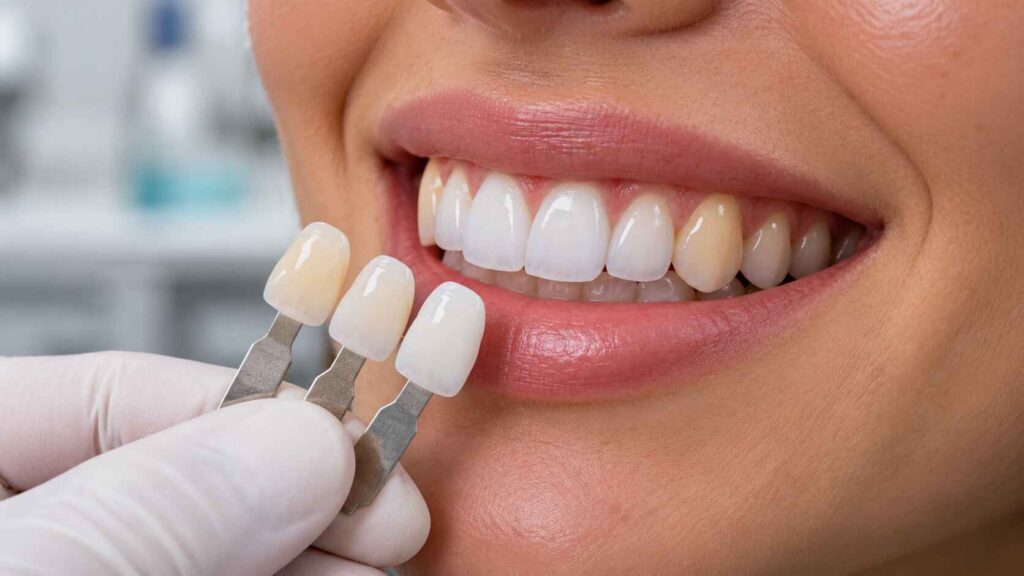
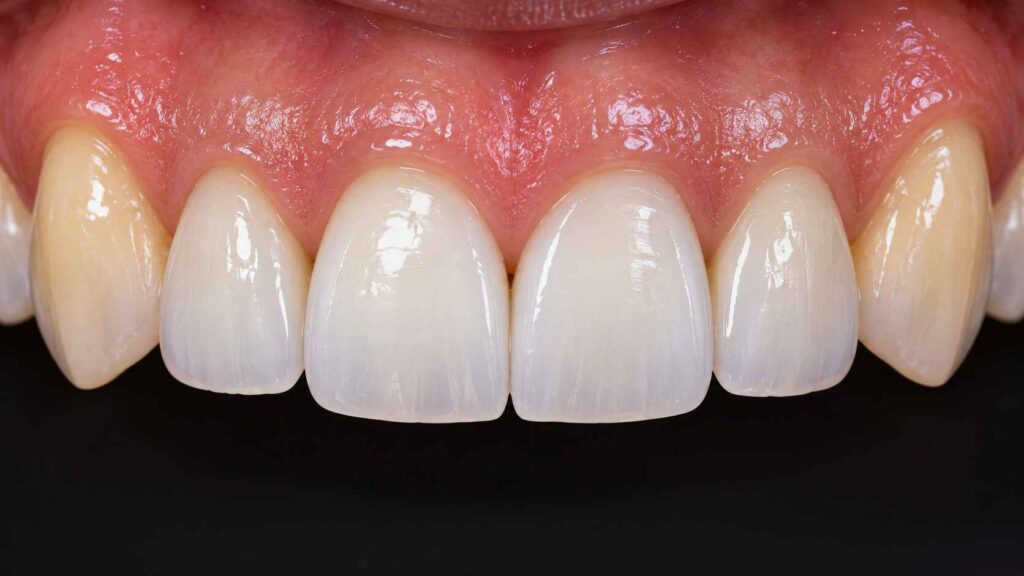
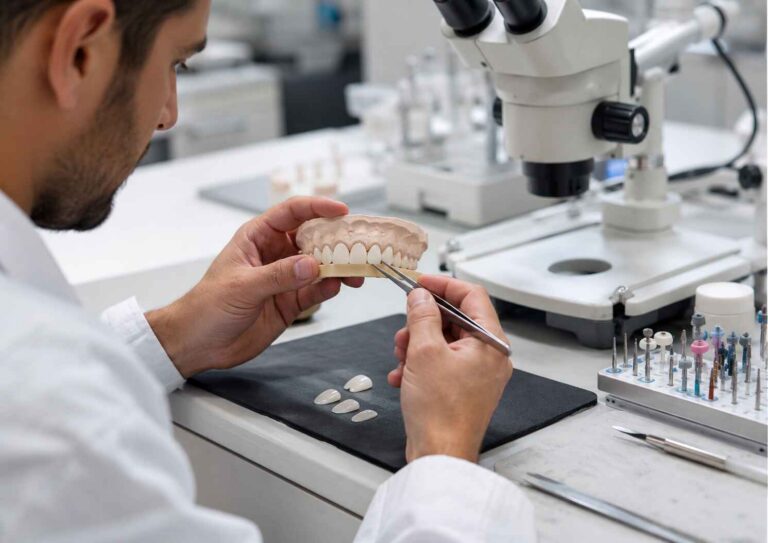
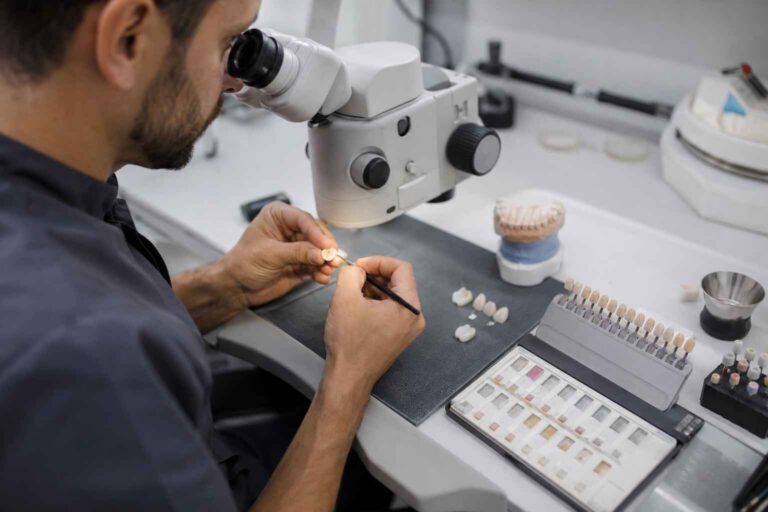
When four brilliant Emax veneers replace the maxillary incisors while both natural canines remain untouched, even technically accurate shade selection can produce an artificial smile because the restorations are judged against neighboring teeth, not isolated shade tabs.
What happens when the ceramic looks right, but the smile looks wrong?
Frequently, the problem is uncontrolled chroma transition.
Natural canines tend to be darker, warmer, and more chromatically saturated than central incisors. This difference is part of normal dental anatomy. Yet many veneer prescriptions still treat the entire anterior segment as though one commercial shade designation should create harmony.
It won’t.
The harder truth is that matching E.max veneers beside natural canines does not require making every tooth look identical. It requires managing the visual progression from brighter central incisors through lateral incisors to more saturated canines.
That means controlling value, chroma, translucency, ceramic thickness, and the underlying tooth color as one optical system.
Get that relationship right, and four veneers can integrate convincingly with two untouched canines.
Get it wrong, and even beautifully fabricated restorations may appear conspicuously artificial.
A clinician plans veneers for teeth 12, 11, 21, and 22 using FDI notation. Both natural canines, 13 and 23, will remain untreated.
The patient requests a brighter smile. The laboratory receives a relatively bright shade prescription without detailed references to the canines.
The resulting veneers may be technically consistent, symmetrical, and accurately fabricated.
But when the patient smiles, the canines appear noticeably darker.
The restorations have changed the visual context.
And the laboratory cannot solve that problem simply by proving the veneers match the prescribed shade tab.
Value and Chroma Must Be Controlled Separately
Dental color involves three related properties:
Hue: The basic color family.
Chroma: The intensity or saturation of that color.
Value: The perceived lightness or darkness.
A natural canine may have greater chroma and lower value than its neighboring lateral incisor.
The mistake is assuming that the lateral incisor must reproduce the canine’s shade exactly.
It should not.
A convincing transition may retain relatively high incisor value while introducing restrained warmth or more natural cervical characterization toward the canine.
This is where professional judgment matters.
Increasing chroma too aggressively can produce an obvious yellow zone. Raising value excessively can make the ceramic appear detached from the natural teeth.
Ceramic Translucency Cannot Rescue a Poor Chroma Strategy
What IPS e.max Actually Allows Us to Control
IPS e.max lithium disilicate is based on a glass-ceramic system containing lithium disilicate crystals, Li₂Si₂O₅.
Its esthetic potential comes partly from the interaction between its crystalline structure, glass matrix, translucency, and available shade formulations.
But the visible color of an E.max veneer is not determined by ceramic alone.
It is the combined result of:
Prepared tooth color + ceramic shade and thickness + translucency + resin cement + surface reflection.
That distinction matters enormously in thin anterior restorations.
Integrates with suitable substrates but provides limited masking
MT — Medium Translucency
Intermediate translucency and brightness
Balances light transmission with greater brightness control
LT — Low Translucency
Lower translucency and more stable shade appearance
Useful when additional optical control is needed
MO — Medium Opacity
Greater masking ability
Intended for discolored preparations and framework applications
Impulse
Specialized opalescent effects
Relevant when specific incisal optical characterization is required
These material categories are not interchangeable, and their indications depend on restoration geometry and the manufacturer’s instructions.
High translucency is not automatically the most natural choice.
For example, a highly translucent veneer placed over a darker prepared tooth may transmit enough background color to lower its apparent value.
The technician might compensate by increasing surface brightness.
Now the restoration risks appearing bright on the surface but visually dull underneath.
That is not a chroma solution. It is an unresolved substrate problem.
The Substrate Often Matters More Than Cement
A 2025 in vitro study published in the Journal of Dentistry examined the masking ability of lithium disilicate veneers fabricated using different ceramic translucencies, resin cement shades, and simulated dentin colors.
The researchers tested IPS e.max CAD ceramics and Variolink Esthetic LC cements over normal and severely discolored substrates.
Their dominance analysis attributed the following proportions of explained color variation to the tested factors:
87.82%: Substrate shade
9.15%: Ceramic translucency
3.03%: Cement shade
These percentages apply to the study’s statistical model. They should not be interpreted as fixed clinical percentages for every veneer.
Importantly, none of the tested combinations successfully masked the severely discolored substrate within the study’s clinical acceptability criterion.
If a restoration’s underlying tooth is too dark for the selected ceramic thickness and translucency, changing the bonding cement is unlikely to provide a reliable rescue.
This becomes particularly relevant when several anterior preparations have different substrate shades.
The same E.max shade can behave differently over each tooth.
I would therefore place stump-shade evaluation ahead of final translucency selection, rather than treating cement shade as the primary method for correcting a visible mismatch.
How to Control Chroma Transition Between E.max Veneers and Natural Canines
Step 1: Measure the Canines Before Preparation
The natural canines must be treated as esthetic reference teeth.
That means recording them before prolonged isolation or dehydration alters their appearance.
A useful clinical record includes:
Spectrophotometric measurements when available.
Cervical, middle-third, and incisal shade observations.
Standardized photographs with identifiable shade tabs.
Cross-polarized photographs for internal color information.
Conventional photographs showing surface gloss and reflection.
A clear description of the desired incisor brightness relative to the canines.
Do not send the laboratory only a frontal smile photograph and an A1 instruction.
The technician needs to understand the relationship between the untreated canines and the proposed restorations.
Step 2: Design the Transition Across the Anterior Segment
For a four-veneer case, the goal is not to apply one uniform color to every restored tooth.
Instead, evaluate how each tooth should contribute to the overall smile.
A practical design might preserve:
Central incisors: The principal brightness reference, with a consistent but natural value relationship.
Lateral incisors: A similar overall value, with subtle localized warmth where necessary to coordinate with the canines.
Natural canines: Their existing individual character, including greater cervical saturation where present.
This is not a rule that lateral incisors must always be darker than centrals.
The correct transition depends on the patient’s existing dentition, desired shade, age-related characteristics, and smile design.
Some cases need almost no additional lateral-incisor chroma.
Others require careful cervical characterization.
The challenge is determining which differences should remain visible and which should be reduced.
Step 3: Choose Ceramic Construction Based on the Optical Problem
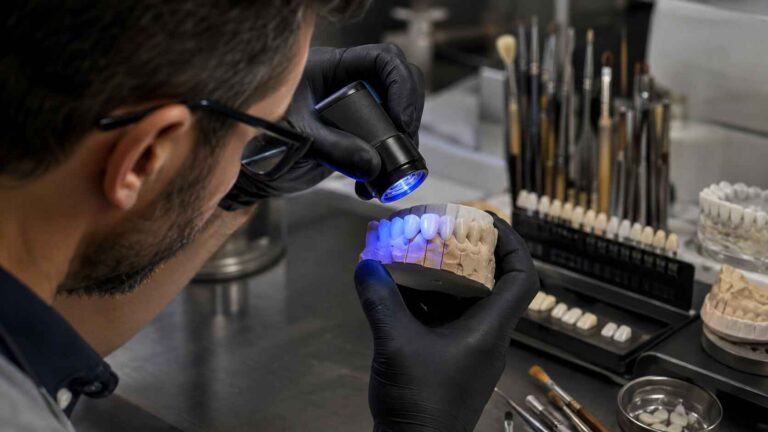
Monolithic and layered lithium disilicate veneers offer different approaches to shade control.
A monolithic restoration can be suitable when the prepared substrates are favorable and the desired optical variation can be achieved with the selected ceramic and restrained characterization.
Layered restorations may provide additional control over localized dentin-like warmth, incisal effects, opalescence, and surface depth.
For cases requiring more individualized characterization, layered E.max veneers offer a lithium disilicate core with porcelain build-up.
But additional layering is not automatically better.
It adds technical complexity and must respect the available ceramic space and restoration design.
The more sensible question is whether the selected construction allows the technician to reproduce the intended color relationship predictably.
Not whether one option sounds more premium.
Step 4: Evaluate the Entire Smile During Try-In
A veneer can match its individual reference tab and still fail when viewed beside a natural canine.
Try-in assessment must therefore consider the complete anterior segment.
Evaluate:
Whether the lateral incisors appear excessively bright beside the canines.
Whether facial contour produces stronger reflections than natural enamel.
Whether compatible try-in paste shades meaningfully change the result.
The clinical team should also examine the restorations under consistent, appropriate lighting.
Instrumental measurements can support the assessment.
A major 2015 multicenter study in the Journal of Esthetic and Restorative Dentistry reported CIEDE2000 color-difference thresholds of ΔE00 = 0.8 for perceptibility and ΔE00 = 1.8 for acceptability, using 50:50 observer-response criteria.
These are research-based visual thresholds, not mandatory targets for color differences between naturally distinct teeth.
Surface stain cannot reliably correct a major value or substrate-masking error.
If the underlying problem is the selected ceramic’s optical behavior, additional staining may only make the restoration look less natural.
Likewise, if a veneer looks too bright because of facial contour and excessive specular reflection, changing the ceramic shade alone may miss the real cause.
This is why the final esthetic assessment should include internal color, external morphology, and surface finish.
The Laboratory Prescription Should Define the Transition, Not Just the Shade
A detailed prescription is often more valuable than an elaborate description of the final shade target.
For E.max veneers beside natural canines, I would want the laboratory to receive five distinct categories of information:
Natural canine references: Individual shade measurements and photographs of teeth 13 and 23.
Restorative target: The desired brightness relationship between central incisors, lateral incisors, and canines.
Substrate conditions: Stump shades, existing restorations, discoloration, and available ceramic space.
Material instructions: Requested lithium disilicate system, translucency considerations, and characterization priorities.
Approval criteria: The photographs, provisional restorations, or visual references against which the completed veneers will be evaluated.
The prescription should also identify whether the primary goal is maximum brightness, natural integration, or a specific compromise agreed upon with the patient.
Those objectives can lead to different ceramic decisions.
And they should not be left for the technician to infer.
Give the laboratory enough information to reproduce the intended result—not merely enough information to manufacture a veneer.
FAQs
How do you match E.max veneers to natural canines?
Matching E.max veneers to natural canines is the process of designing the restored incisors’ value, chroma, hue, translucency, and surface reflection around the existing canine color, while accounting for prepared-tooth shade, ceramic thickness, and resin cement so the restorations integrate with natural teeth without appearing artificially uniform.
The most effective approach combines individual shade records, properly selected lithium disilicate materials, and a full-smile try-in assessment.
What is chroma transition in dental veneers?
Chroma transition in dental veneers is the intentional progression of color saturation between neighboring teeth, particularly from relatively bright central and lateral incisors toward naturally warmer canines, achieved through controlled ceramic shade selection, localized characterization, and translucency management rather than simply assigning every anterior restoration the same commercial shade.
A believable transition preserves natural differences while avoiding abrupt color boundaries.
Can E.max resin cement fix a canine shade mismatch?
Resin cement shade adjustment is a limited method of modifying the final appearance of an E.max veneer by changing the optical contribution of the bonding layer, but it cannot consistently correct an unsuitable ceramic shade, insufficient masking of a dark preparation, or a poorly planned transition to adjacent natural canines.
If the mismatch originates in the ceramic or underlying substrate, the restoration design may need to be reassessed before permanent bonding.
Final Thoughts: Make Chroma Transition Part of the Prescription
The best E.max veneers do not necessarily reproduce the brightest possible smile.
They reproduce the intended smile.
Natural canines often carry more color saturation than the incisors beside them. That difference should be considered during shade planning, not discovered after the veneers return from the laboratory.
For dentists and dental laboratories, the practical priorities are clear: record natural canine color, evaluate prepared-tooth shade, choose ceramic translucency based on the substrate, and assess the entire anterior segment before bonding.
At Artist Dental Lab, our E.max veneer fabrication options support case-specific shade, translucency, and characterization requirements.