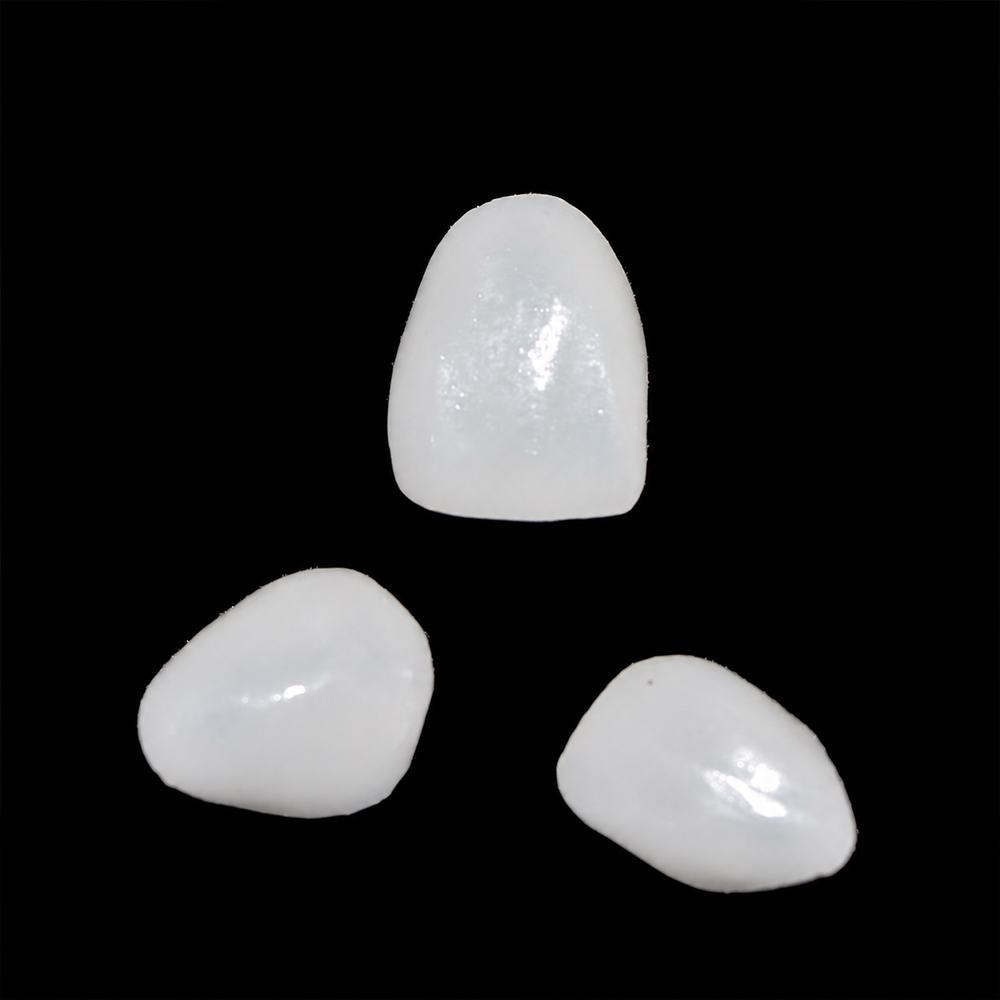
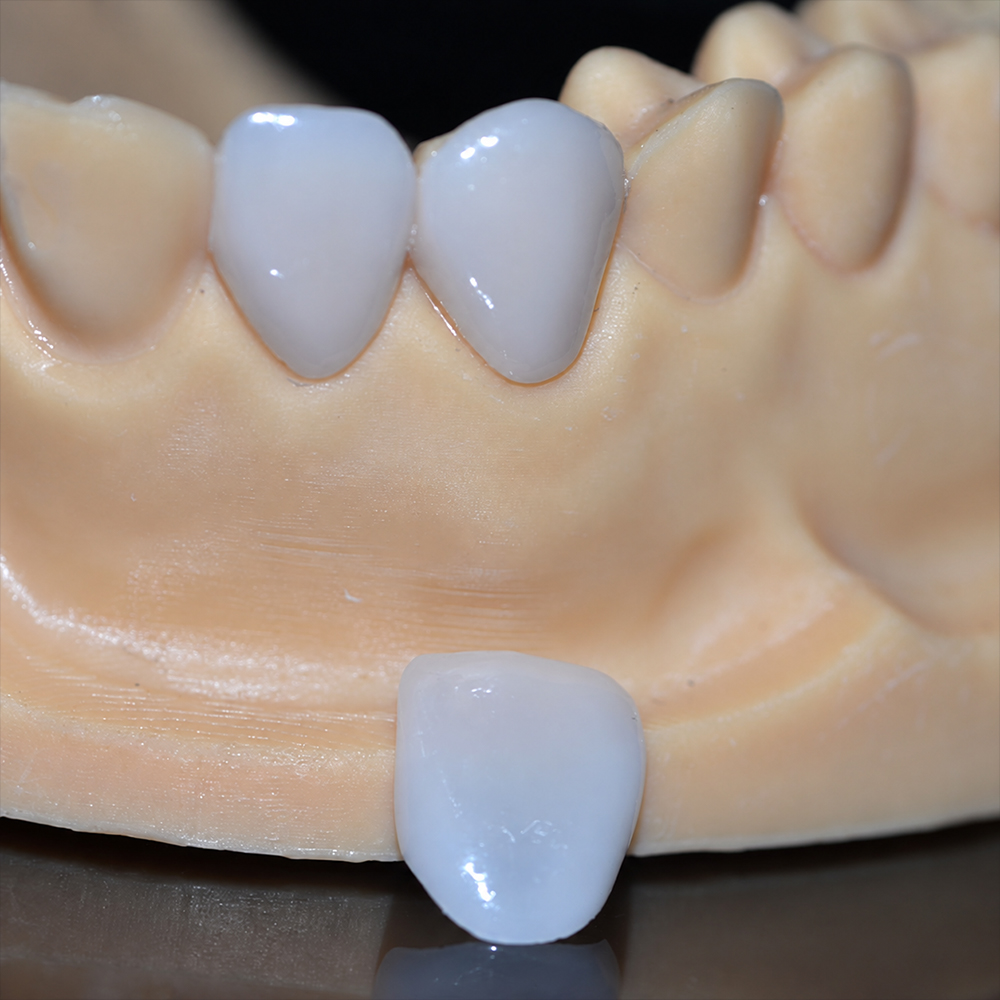
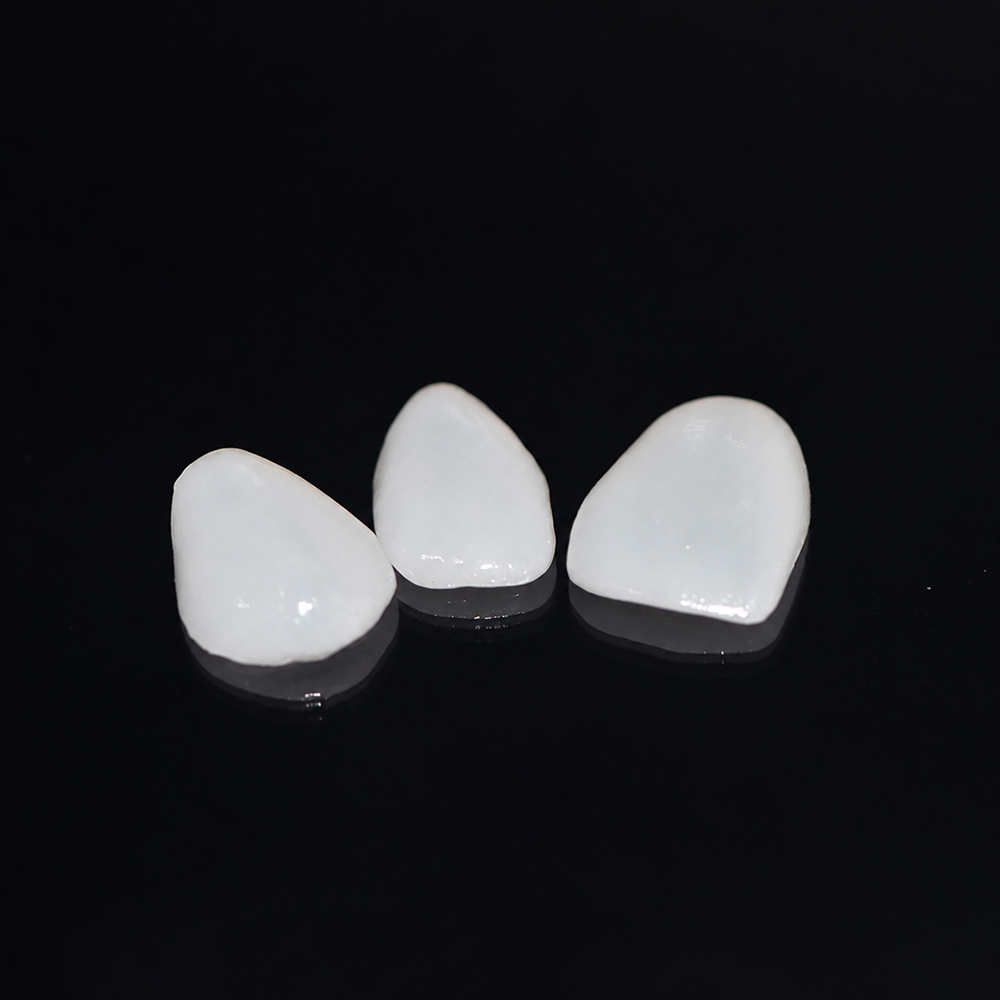
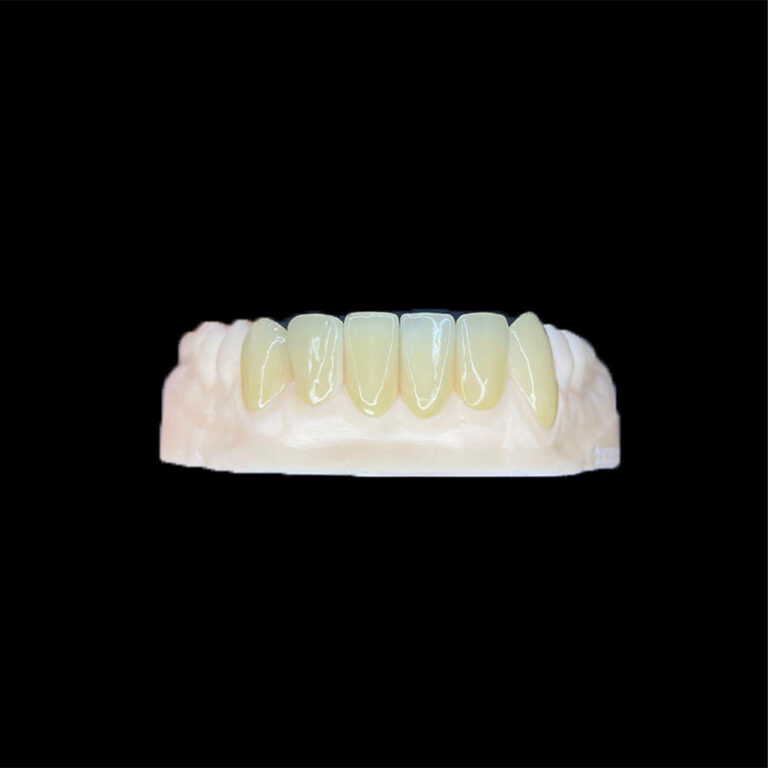
Internal Adjustment of E.max Veneers: When Grinding Becomes a Fracture Risk
A veneer that stops 0.2 mm short of full seating invites an obvious fix: put a diamond inside it and remove whatever is in the way. With lithium disilicate E.max veneers, that shortcut is where many avoidable fractures and debonds begin. The fitting surface, called the intaglio surface, is the most bond-critical surface of a bonded veneer and, under function, usually the tensile side. Grinding it changes thickness, surface condition and adhesive potential at the same time. This article explains when internal adjustment is defensible, how to keep it conservative, and when the restoration should go back to the laboratory instead of being ground to fit.
What Internal Adjustment Changes in an E.max Veneer
Internal adjustment means removing ceramic from the fitting surface to relieve a seating interference. It is different from external work such as shortening an edge or smoothing a contact. Three things change at once:
Thickness. Material removed from the intaglio surface cannot be replaced. The restoration becomes thinner exactly where it may already be near its minimum.
Surface condition. A diamond leaves scratches and microcracks that were not in the laboratory-finished surface.
Bonding surface. The area you grind loses the etched topography that the adhesive protocol depends on.
A sound decision accounts for all three.
Why Grinding the Fitting Surface Raises Fracture Risk
Thin sections leave little reserve
Lithium disilicate veneers are designed to work at very low thickness, so there is little margin to give away. The Ivoclar Vivadent IPS e.max CAD laboratory instructions for use state a minimum thin-veneer thickness of 0.4 mm in the cervical and labial area, with 0.5 mm planned at the incisal edge. The same document says minimum layer thicknesses must still be maintained after minor adjustments.
A simplified illustration shows why this matters. In flat-plate bending, stress for a given load scales roughly with the inverse square of thickness. Removing 0.1 mm from a 0.5 mm zone leaves 0.4 mm, and the calculated bending stress rises by about 56% (0.5² ÷ 0.4²). Real veneers are curved, supported by adhesive and loaded in complex ways, so treat this as direction, not prediction. A “small” internal adjustment can still be proportionally large.
Surface flaws set the practical strength limit
The same IFU lists a biaxial flexural strength of 530 MPa as the typical value for IPS e.max CAD. That figure describes properly prepared test specimens, not a ground, rough surface in a patient. In a bonded ceramic, the fitting surface is generally the tensile side under functional loading, so flaws there matter more than flaws elsewhere.
Evidence on ground lithium disilicate agrees in direction. An in vitro study that compared two- and three-step polishing systems on ground lithium disilicate found the unpolished ground group had the lowest biaxial flexural strength, consistent with grinding-induced surface defects reducing mechanical performance. Polishing improved both roughness and strength, and the three-step system restored them better. That study addressed polishable, exposed surfaces. The intaglio surface is bonded and cannot be polished the same way, so a ground fitting surface offers fewer remedies.
Heat and edge chipping
The IFU warns that unsuitable instruments can cause edge chipping and local overheating. It specifies low speed and light pressure to prevent delamination and chipping, particularly at the margins, and states that overheating of the glass-ceramic must be avoided. Veneer margins are thin, so a veneer edge is the first place a rotating diamond does damage.
Before You Grind: Find Out Why the Veneer Does Not Seat
The conventional assumption is that a veneer that will not seat is too big on the inside. Often it is not. A restoration can fail to seat for reasons that grinding the ceramic will never fix:
A tight proximal contact on one side, holding the veneer off the tooth.
Residual provisional cement, plaque, desiccant or debris on the preparation.
Try-in paste or cement trapped in a deep intaglio feature.
A sharp internal line angle or lip of enamel on the preparation.
A die, scan or model discrepancy that affects the whole fit, not one spot.
Adjacent veneers seated in the wrong sequence.
Use a disclosing medium or fit-checker on the intaglio surface to see where contact occurs. If you cannot show a discrete high spot, you are not ready to grind. If the same pattern appears in several units, the cause is almost certainly upstream of the ceramic.
The cause also decides who fixes it. A rough enamel ledge belongs to the tooth. A tight contact belongs to the proximal surface. A systematic fit error belongs to the design or the die. Internal grinding is the answer only when a localized ceramic interference remains after the other causes are excluded.
Internal Adjustment Options Compared
Option
Suitable when
Main risk
Verify first
Spot intaglio adjustment
One discrete high spot is identified, and the local thickness is clearly above the minimum
Added surface flaws, lost thickness, heat, lost etched surface in that area
Thickness at the site, location from a fit-checker, re-etch and silane plan
Broad intaglio grinding “to make it seat”
Rarely justified
Thinning across a wide area, loss of marginal accuracy, higher fracture and debond risk
Whether the real cause is elsewhere
Adjusting the tooth preparation
Interference is a ledge, line angle or enamel remnant on the tooth
Unplanned loss of enamel, exposure of dentin
Reduction depth against the design
Adjusting the proximal contact externally
A tight contact is holding the veneer off the tooth
Open or weak contact, altered contour
Contact check, polish of the adjusted area
Returning to the lab for correction or remake
Multiple units, thin ceramic, chips or cracks, or unclear cause
Time and schedule impact
Records to send (scans, photos, marked locations)
The table is qualitative. No universal thickness threshold applies to every case, material or operator.
A Conservative Protocol If Spot Adjustment Is Unavoidable
When a single, verified interference remains, restraint matters more than speed:
Mark the exact spot. Use fit-checker contact marks, not visual guesswork. Photograph the marks.
Check thickness. Compare against the laboratory design or the minimum values in the manufacturer’s IFU. If the margin is small, stop.
Use suitable fine diamonds. Follow the instrument guidance in the current IFU for the specific product.
Work at low speed with light pressure, intermittent strokes and water cooling. The IFU’s requirements for light pressure and for avoiding overheating apply here. Remove the least possible ceramic, then re-check.
Clean the restoration. Remove ceramic dust and contamination before surface treatment, per the adhesive system’s instructions.
Re-condition the adjusted area. Grinding removes the etched pattern locally. A systematic review of etching protocols concluded that the manufacturer-recommended hydrofluoric acid protocol (5% for 20 seconds) was the most efficient for bond and flexural strength of lithium disilicate and lithium silicate glass-ceramics. Exceeding the manufacturer’s protocol does not appear to improve results. Hydrofluoric acid is hazardous, so follow the manufacturer’s safety instructions and use it extraorally only.
Silanate before bonding. A study of surface treatments during try-in reports that applying a fresh silane layer after try-in improved bond strength stability. It also notes that fitting adjustment reduces the flexural strength of CAD/CAM glass-ceramic.
Adjusted external areas need their own finishing step. The IFU says to polish adjusted areas to a high gloss. Choosing between polished versus glazed finishes affects light reflection as well as roughness, and the right answer depends on the adjacent enamel. Incisal edge work, which is external, deserves its own approach, covered in this guide to adjusting veneer incisal edges without destroying surface character.
When to Send the Veneer Back to the Laboratory
Send the case back, rather than grinding, when any of the following applies:
The same seating resistance appears across several veneers.
The area needing relief is close to the minimum thickness, or the margin region is involved.
A chip, crack line or delamination is visible, even small.
The fit-checker shows broad contact, not a discrete spot.
The preparation was under-reduced. For IPS e.max CAD veneers, the IFU asks for at least 0.6 mm of cervical and labial reduction and at least 0.7 mm incisally, where possible within enamel. Grinding the veneer to compensate for missing tooth reduction removes the material that carries the load.
The cause cannot be identified.
Construction also affects the remake path. A monolithic restoration and a layered one divide total thickness differently between the lithium disilicate base and any porcelain layer, which affects what can be corrected and how, so the difference between full and layered E.max veneers is worth understanding before the case is returned. Ask the laboratory what correction routes exist for your specific restoration, since that depends on material, workflow and available files.
An illustrative scenario, not a client case: a clinician has eight veneers and finds that #8 and #9 resist seating. Grinding both would feel quicker. But if the fit-checker shows broad, diffuse contact on both and the adjacent units seat easily, a die or scan discrepancy in the central region is more likely than two identical ceramic errors. A correction from the lab addresses the cause. Grinding only hides it.
Function Still Matters After a Compromised Fit
A ceramic that has been thinned internally should be assumed to have less reserve under load. Occlusion then deserves more attention than usual. Check contacts in maximum intercuspation and in protrusive and lateral movements, as covered in this guide to post-cementation occlusal checks for multi-veneer cases. Be especially careful where contacts fall close to a thinned or adjusted area.
Patient factors also matter. The IFU edition reviewed here lists bruxism among the contraindications for IPS e.max CAD, and it states that incisal preparation margins should avoid abrasion surfaces and dynamic occlusal surfaces where possible. Confirm the current IFU for your specific product, because manufacturers revise these indications.
What Should You Document Before Sending a Veneer Back to the Lab?
A good return package shortens the correction loop and makes the cause easier to identify. Include:
Photographs of the fit-checker marks on the intaglio surface and on the preparation.
A new scan of the preparation if the tooth was modified, with the date of any change.
The location and extent of any adjustment already made, even if minor.
Shade, stump shade and margin notes if the correction affects appearance.
A statement of whether a chip, crack or debond was observed.
Artist Dental Lab’s E.max veneer product page lists the usual case files for new orders as STL scans, shade and stump shade, photographs, margin notes and esthetic goals. The same discipline helps on a return. A clear record lets the laboratory separate a ceramic problem from a tooth, scan or sequencing problem. If you have a veneer that will not seat, contact Artist Dental Lab before you grind it.
Frequently Asked Questions
Can you grind the inside of an E.max veneer? Yes, but only locally and conservatively. Grinding removes thickness, adds surface flaws and removes the etched bonding surface in that area. Use light pressure, low speed and cooling, check thickness first, then re-etch and silanate before bonding.
Why does an E.max veneer not seat fully? Common causes are a tight proximal contact, residual cement or debris, enamel ledges on the preparation, and scan, die or design discrepancies. Ceramic interference is only one possibility, so identify the contact point before you grind anything.
Do you need to re-etch an E.max veneer after internal adjustment? The adjusted area has lost its etched pattern, so it should be re-conditioned per the manufacturer’s protocol. Hydrofluoric acid is used extraorally with safety precautions, followed by silane. Exceeding the manufacturer’s etching time does not appear to help.
How thin can an E.max veneer be? For IPS e.max CAD, the IFU reviewed here lists a thin-veneer minimum of 0.4 mm cervically and labially, and 0.5 mm incisally. Other products and workflows have their own values, so check the current IFU.
Should adjusted ceramic be polished or glazed? The IFU says adjusted areas should be polished to a high gloss. In one in vitro study of ground lithium disilicate, both polishing protocols improved surface quality and strength, and a three-step system worked better. Choose the finish that suits the adjacent enamel.
When should a veneer go back to the lab instead of being adjusted? Send it back when several units resist seating, the ceramic is near its minimum thickness, chips or cracks appear, the contact is broad, or the cause is unclear.