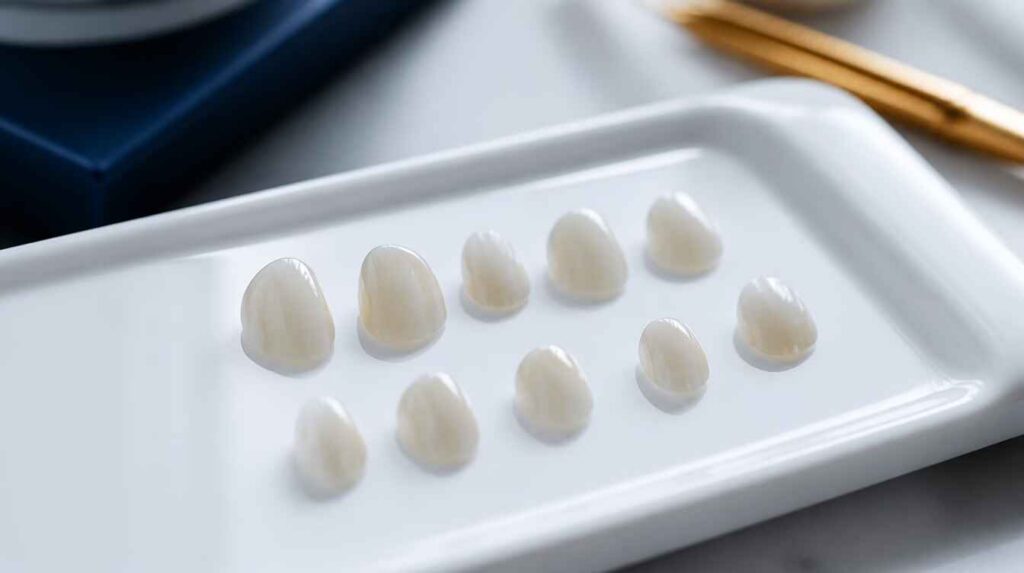
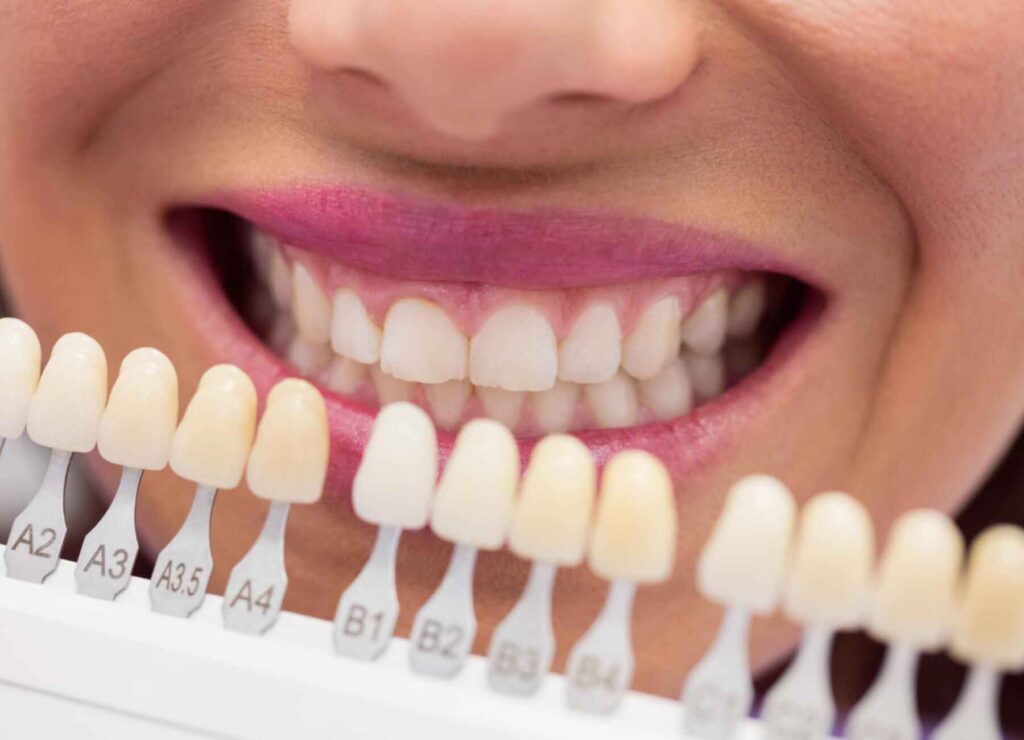
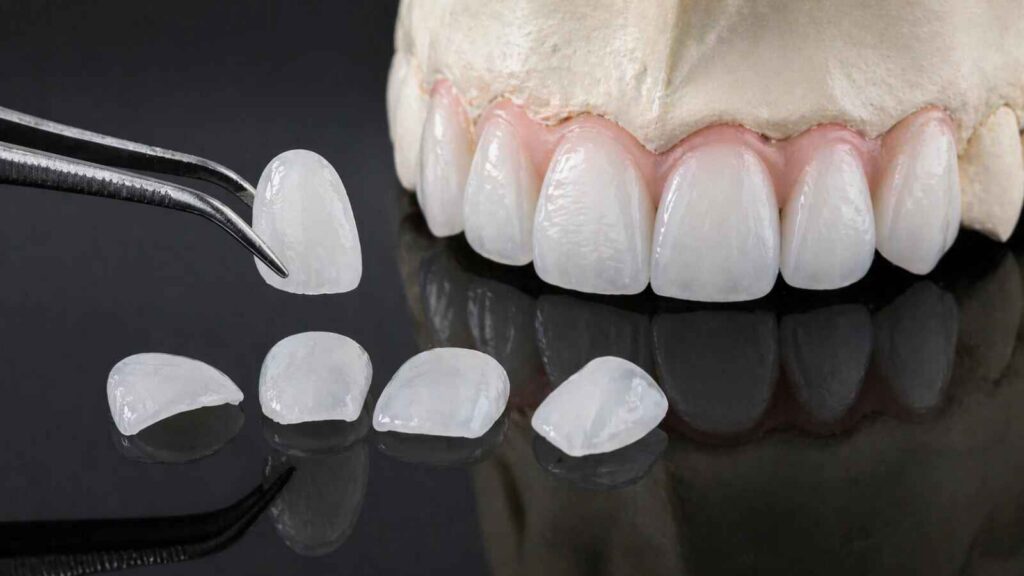
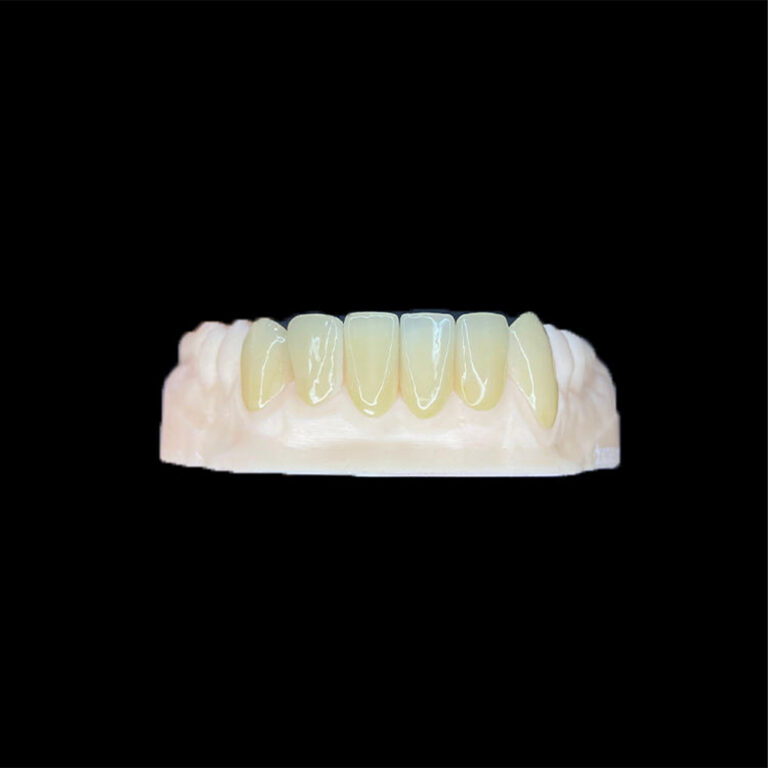
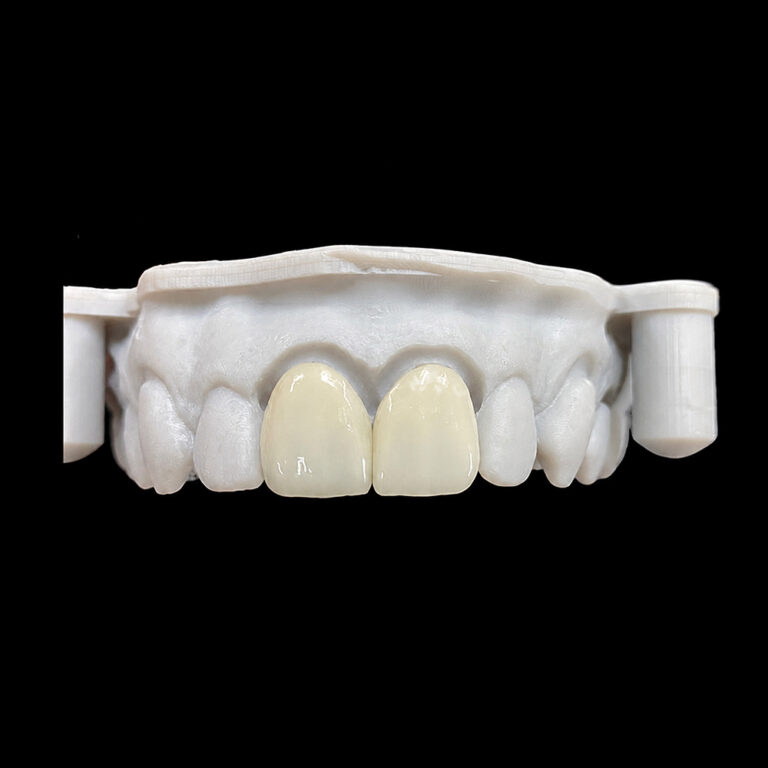
How Veneer Width-to-Length Ratio Changes Smile Character
Proportion changes everything.
A difference of less than 1 mm in visible length can shift a central incisor from graceful to bulky, yet many veneer prescriptions still arrive at the laboratory with nothing more useful than a shade code, an STL file, and the instruction to make the teeth “natural.”
Natural according to whom?
The veneer width-to-length ratio is not decorative mathematics. It controls visual mass. It helps determine whether the central incisors look tall, compact, dominant, delicate, worn, youthful, severe, soft, or suspiciously square.
I will say the unpopular part plainly: a smile can have excellent margins, accurate contacts, and expensive ceramic while still looking wrong because the veneer proportions were never deliberately chosen.
Veneer Proportions Are a Character Decision, Not Just a Measurement
The veneer width-to-length ratio is calculated by dividing the visible facial width of the clinical crown by its visible inciso-gingival length.
For example:
A veneer measuring 8.2 mm wide and 10.5 mm long has a ratio of approximately 78%.
A veneer measuring 8.5 mm wide and 10.0 mm long has a ratio of 85%.
A veneer measuring 8.5 mm wide and 9.4 mm long has a ratio of approximately 90%.
The numbers seem close. The visual outcomes are not.
A lower ratio usually creates a longer, narrower tooth. A higher ratio creates a shorter, broader tooth. But that is only the starting point because the observer does not see a digital measurement. The observer sees light, shadow, gingiva, lips, embrasures, line angles, surface texture, and the relationship between six anterior teeth.
Lower Ratios: Slender, Refined, and Potentially Overstretched
Width-to-length ratios around 72% to 77% generally produce a slender visual form.
This can support:
Greater apparent tooth length
Strong vertical emphasis
A more delicate or refined central-incisor outline
Increased incisal display
Restoration of worn clinical crowns
A youthful appearance when existing tooth length has been lost
But lower is not automatically better.
Overlengthening a central incisor can make the tooth look narrow, weak, or disconnected from the patient’s facial scale. The result may also interfere with phonetics, anterior guidance, lip closure, or the approved smile arc.
A long veneer beneath a short or hypermobile upper lip may look theatrical rather than youthful. And in a high-smile-line case, increasing length from the cervical end can expose gingival discrepancies that ceramic cannot solve.
Middle Ratios: Balanced Without Becoming Anonymous
Ratios around 78% to 82% are commonly treated as a balanced design zone for maxillary central incisors.
There is evidence behind that range. A 2012 British Dental Journal study digitally altered central-incisor ratios from 66% to 96% and asked 32 dentists, 32 dental technicians, and 32 patients to rank the smiles. An 82% ratio was rated most attractive for normally shaped central incisors, although the researchers found considerable variation between and within the groups. ail matters more than the headline number.
The study did not prove that every patient needs an 82% central incisor. It showed that, in one controlled image and one observer sample, 82% performed well while extreme forms generally performed poorly.
I consider 78% to 82% a useful checkpoint. I do not consider it a prescription.
Higher Ratios: Strong, Compact, and Easy to Overbuild
Ratios around 83% to 88% create greater horizontal visual mass.
The central incisors may look:
Broader
Squarer
More assertive
More compact
More dominant
Less tapered
That can work beautifully when the face, lips, arch width, existing tooth anatomy, and patient preference support it.
But there is a hard limit.
When the ratio climbs toward 88% to 90%, the smile can begin to look worn or blocky, especially if the technician also creates flat facial surfaces, broad contacts, shallow embrasures, and identical lateral incisors.
Wide teeth are not the problem. Unmanaged width is.
How Different Ratios Change Smile Character
The following table is a planning guide, not a universal design formula. The final ratio must be evaluated against facial scale, lip movement, gingival position, existing enamel, occlusion, and the patient-approved mock-up.
Approximate Central-Incisor Ratio
Typical Visual Character
Possible Clinical Use
Main Design Risk
72%–76%
Slender, delicate, vertically emphasized
Restoring worn length, increasing incisal display, creating a refined silhouette
Teeth may appear too long, narrow, weak, or facially mismatched
77%–82%
Balanced, natural, centrally dominant
Broad range of anterior veneer cases
Can become generic when copied without facial analysis
83%–86%
Stronger, broader, more assertive
Wider arch forms, short clinical crowns, patients requesting a fuller smile
Excessive central dominance or a heavy cervical contour
Artificial, overcontoured, or severely worn appearance
These character descriptions are not gender rules.
Calling a lower ratio “feminine” and a higher ratio “masculine” may make a sales consultation easy, but it reduces facially driven design to stereotypes. A broad central incisor can suit a woman. A slender central can suit a man. The face decides more than the label.
The 82% Number Is Useful—and Commonly Abused
The 82% finding from the 2012 perception study has become one of those dental statistics that travels faster than its limitations.
The researchers did not scan thousands of naturally attractive smiles. They manipulated one posed female smile and asked 96 observers to rank variations. The normal-form images ranged from 66% to 96%, while altered tooth-wear and delayed-apical-migration groups covered narrower ratio ranges. l experimental evidence.
It is not a biological law.
More recent research keeps making the same uncomfortable point: natural anterior dentitions do not obediently follow one universal proportional system.
A 2021 in-vivo analysis of anterior dental proportions concluded that the Recurring Esthetic Dental proportion was unsuitable for relating the successive visible widths of maxillary anterior teeth. uwait University biometric study](https://pmc.ncbi.nlm.nih.gov/articles/PMC12640573/) examined three-dimensional models from 126 healthy adults, reporting population- and sex-related differences in anterior crown dimensions and width-to-length relationships. The practical message is not that one sex needs one ratio. It is that reference data are population-specific, and individual variation survives every attempt to turn smile design into a universal spreadsheet. as a diagnostic question:
Does this patient look better near 82%, or are we forcing the patient to fit the literature?
That is a very different attitude.
Central Incisor Proportions Control the Smile Hierarchy
The maxillary central incisors are the visual center of most veneer cases.
They establish:
The apparent scale of the anterior teeth
The restorative midline
Incisal-edge position
Central dominance
The starting rhythm for contacts and embrasures
The relationship between the smile and facial midline
But central dominance is not simply a matter of making teeth 8 and 9—or 11 and 21—larger than everything beside them.
It depends on how the centrals relate to the lateral incisors.
A 2017 smile-esthetics experiment found that a lateral-incisor width measuring 67% of central-incisor width received the highest preference from 44% of orthodontists, 39% of general dentists, and 36% of lay observers in that study. d not convert 67% into a compulsory CAD setting.
The stronger lesson is that smile character comes from hierarchy. If the laterals are too wide, they compete with the centrals. If they are too narrow, the smile may appear pinched. If the canines are too frontal and broad, the entire anterior segment begins to look like six central incisors placed in a row.
This is why midline and symmetry planning in multi-veneer cases must include central width, central length, lateral-incisor support, gingival asymmetry, and the incisal plane as separate variables. The site’s planning framework specifically identifies central width-to-length relationships as a control against creating one visibly oversized “fat tooth.” out hierarchy looks manufactured.
Measured Width Is Not the Same as Apparent Width
Here is where laboratory skill becomes obvious.
Two veneers can share the same external width and length yet appear to have different proportions because the reflective facial surface is different.
The transitional line angles define where the facial surface begins to turn away from the viewer. Moving those line angles inward narrows the central reflective zone, making a tooth appear slimmer. Moving them outward broadens the reflection and makes the tooth appear wider.
So a physically broad tooth does not always need to be physically narrowed.
Sometimes it needs better light control.
Artist Dental Lab’s guide to transitional line angles in veneers cites a 2022 observational dataset covering 4,264 anterior teeth. The reported mean esthetic width between the facial transitional line angles was 6.773 ± 0.518 mm for maxillary central incisors and 5.451 ± 0.487 mm for maxillary lateral incisors in the studied population. Dangerous dogma.
Those numbers describe one population and one measurement method. They should help technicians understand natural anatomy, not command them to produce a 6.773 mm reflective zone on every central incisor.
Why CAD Dimensions Can Still Look Wrong
Digital design software measures external boundaries beautifully.
It does not automatically predict:
Final ceramic reflection
Surface gloss after firing
Optical width after line-angle finishing
Cement-value effects
Intraoral hydration
Lip shadows
Directional photography
How the veneer looks from 45 degrees
A mirrored CAD design may be mathematically symmetrical and visually asymmetrical after milling, hand finishing, staining, glazing, polishing, and bonding.
That is not an argument against digital dentistry. It is an argument against treating software output as finished esthetic judgment.
Length Can Be Added From Two Ends, but Only One Face Sees the Result
A veneer can appear longer because the incisal edge is extended, because the gingival margin is repositioned, or because both ends change.
Those are not interchangeable decisions.
Incisal Length Changes Youthfulness and Movement
Adding incisal length can:
Restore worn anatomy
Increase tooth display at rest
Improve the smile arc
Strengthen central dominance
Alter the apparent age of the smile
Change the relationship with the lower lip
But the incisal edge also participates in phonetics and anterior guidance.
The “F,” “V,” and “S” sounds do not care whether the mock-up looked good in a static photograph. Neither does a deep bite.
I distrust any veneer plan that changes central-incisor length without a mock-up, speech assessment, protrusive evaluation, and a natural-smile video.
Lengthening the tooth cervically may involve periodontal treatment, altered margin positioning, or visual manipulation of the ceramic contour.
This becomes especially exposed in high-lip-line veneer planning, where gingival margins, papillae, cervical transitions, and overcontour remain visible during speech and spontaneous smiling. Veneers can change tooth proportion, but they cannot correct every skeletal, muscular, or periodontal cause of excessive gingival display. keeps trying to solve pink problems with white ceramic.
That is how bulky cervical thirds are born.
Surface Texture Can Reinforce or Undermine the Intended Ratio
A smooth, highly glazed facial surface creates broad reflections.
Broad reflection increases apparent width and value. A veneer designed at 82% may therefore look visually heavier than its measurements suggest.
Vertical texture can strengthen the perception of length. Horizontal texture can interrupt that vertical movement. Strong developmental lobes may make a broad central appear more structured, while flat anatomy can turn the same outline into a white rectangle.
This is why outline comes first, line angles second, secondary anatomy third, and microtexture later.
Material also changes how much control the technician has. Hand-layered feldspathic veneers are positioned for cases requiring enamel-like translucency, delicate incisal effects, refined texture, and individualized characterization, but that optical freedom still depends on accurate scans, margin information, stump shade, smile photographs, and an approved reference design. erial does not rescue poor proportions.
It only renders them more beautifully.
A Practical Width-to-Length Planning Workflow
I would not begin by asking, “What ratio should this veneer be?”
I would use the following sequence.
1. Record the Existing Teeth
Measure:
Clinical crown width
Clinical crown length
Visible width in a frontal smile
Incisal wear
Gingival margin position
Existing asymmetry
Central-to-lateral width relationship
Tooth display at rest and during smiling
Existing proportions may be unattractive, but they reveal the biological and spatial conditions the new design must manage.
2. Define the Intended Smile Character
Use specific language.
“Natural” is useless. “Beautiful” is worse.
A better brief would say:
Retain strong central dominance
Add 0.8 mm of incisal length
Keep the central ratio near 80%
Narrow the apparent width through transitional line angles
Preserve slight left-right surface variation
Increase embrasure progression distally
Avoid a square cervical outline
Match the untreated canine texture and gloss
Now the laboratory has something manufacturable.
3. Test More Than One Ratio
Create at least two meaningful alternatives in the wax-up or digital proposal.
For example:
Option A: 78% central ratio with stronger vertical emphasis
Option B: 82% central ratio with balanced width
Option C: 85% central ratio with a fuller, bolder smile
Do not show the patient three nearly identical screenshots and call that informed choice.
4. Approve the Result in the Face
Evaluate:
Full-face repose
Natural smile
Maximum smile
Three-quarter views
Speech
Lip movement
Smile arc
Gingival display
Incisal edge at rest
Relationship with facial width
Patients buy a smile inside a moving face. They do not buy a retracted photograph.
5. Send the Approved Geometry to the Laboratory
The laboratory should receive:
Preoperative and preparation scans
Opposing arch and verified bite
Approved wax-up or provisional scan
Full-face and retracted photographs
Natural-smile video
Shade and stump-shade photographs
Planned central width and length
Target width-to-length ratio
Incisal-edge position
Gingival limitations
Line-angle and texture instructions
Features to preserve
Features to correct
The ratio should be one instruction inside a complete esthetic brief, not an isolated number typed into the notes field.
The Hard Truth About “Ideal Veneer Dimensions”
There is no universally ideal veneer dimension.
There are defensible ranges, published preferences, anatomical averages, material constraints, and patient-specific goals. That is as close as honest dentistry gets.
The golden proportion is particularly overmarketed. Multiple natural-dentition studies have found that proposed golden and RED relationships do not consistently occur in real populations, including a Spanish photographic study of 78 people and a separate in-vivo study concluding that RED proportion was unsuitable for successive anterior tooth widths. e mathematics useless?
No.
It means mathematics should begin the discussion, not end it.
A ratio can detect an unusually short central incisor. It can expose an oversized lateral. It can make a laboratory prescription measurable. It can help compare mock-ups. It can prevent one tooth from becoming visibly dominant for the wrong reason.
But the final question is not whether the veneer achieved 80%, 82%, or 85%.
The final question is whether the proportion belongs to that face.
FAQs
What is veneer width-to-length ratio?
Veneer width-to-length ratio is the facial width of a veneer divided by its visible clinical crown length, expressed as a decimal or percentage, and it influences whether the tooth appears slender, balanced, broad, youthful, mature, delicate, or visually heavy within the patient’s lips, gingiva, and surrounding anterior teeth.
For example, an 8.2 mm-wide veneer with a 10.5 mm visible length has a ratio of approximately 78%. The measurement is most useful when it is evaluated alongside apparent width, line angles, incisal display, gingival position, and adjacent-tooth proportions.
What is the ideal veneer width-to-length ratio?
An ideal veneer width-to-length ratio is not one universal number; it is a patient-specific range selected from facial proportions, existing tooth dimensions, lip mobility, gingival architecture, incisal display, phonetics, occlusion, and the approved mock-up, with roughly 75% to 85% serving only as a common planning zone rather than a compulsory target.
One controlled study preferred an 82% central-incisor ratio, but it also found substantial variation among dentists, technicians, and patients. The correct target should therefore be tested in the patient’s face rather than copied directly from a paper. veneers make a smile look stronger?
Wider veneers tend to create a stronger, squarer, more dominant smile character because increasing visible width relative to length expands the central incisors’ visual mass, although line angles, surface reflection, adjacent-tooth proportions, gingival framing, and lip display can make the same measured ratio look softer or heavier in different patients.
A broad veneer does not necessarily need aggressive physical narrowing. In selected cases, moving the transitional line angles inward can reduce apparent width while preserving required contact, emergence, and tooth volume.
Do longer veneers make a smile look younger?
Longer veneers can make a smile look younger or more elegant when the added length restores worn incisal edges, improves tooth display, and follows the lower-lip curve, but excessive length may look artificial, interfere with speech or guidance, and expose a mismatch between ceramic shape, gingival height, and facial scale.
The new length should be tested with a mock-up and evaluated during “F,” “V,” and “S” sounds, natural smiling, maximum smiling, and protrusive movement before the final ceramic is approved.
Should central incisor proportions be designed first?
Central incisor proportions should usually be established first because the two maxillary centrals control the smile’s visual center, apparent scale, and hierarchy, while the lateral incisors and canines should be designed to support that dominance through controlled width, length, embrasures, line angles, texture, and progressive transition toward the posterior teeth.
However, centrals cannot be designed in isolation. Their size must be checked against the facial midline, arch width, lateral-incisor proportions, gingival margins, lip line, and approved smile arc.
What should a laboratory receive for veneer proportion planning?
A laboratory should receive full-face repose and smile photographs, retracted views, 45-degree and incisal images, digital scans, bite records, stump-shade photographs, the approved wax-up or provisional, planned central-incisor width and length, gingival limitations, lip-line notes, texture preferences, and clear instructions about which asymmetries must be corrected or preserved.
Sending a ratio without these records leaves the technician guessing about the face, reflective width, incisal position, cervical contour, and intended smile character.
Turn Veneer Proportions Into a Manufacturable Case
Stop prescribing “natural-looking veneers.”
Before your next anterior case reaches production, define the central-incisor width, visible length, target ratio, incisal position, line-angle strategy, lateral-incisor hierarchy, gingival limitations, and the exact character the patient approved in the mock-up.
Then send the evidence.
For technical review, sample-case planning, material selection, or a B2B veneer workflow discussion, contact Artist Dental Lab with your STL files, bite record, full-face photographs, stump shade, approved provisional, and written proportion targets. A laboratory can fabricate precise ceramic only after the clinical team provides a precise design objective.