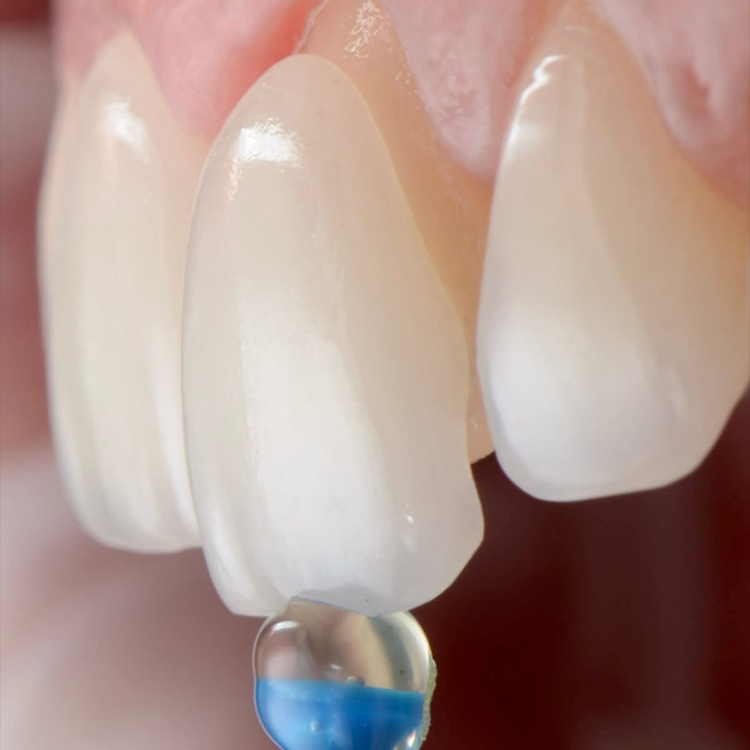
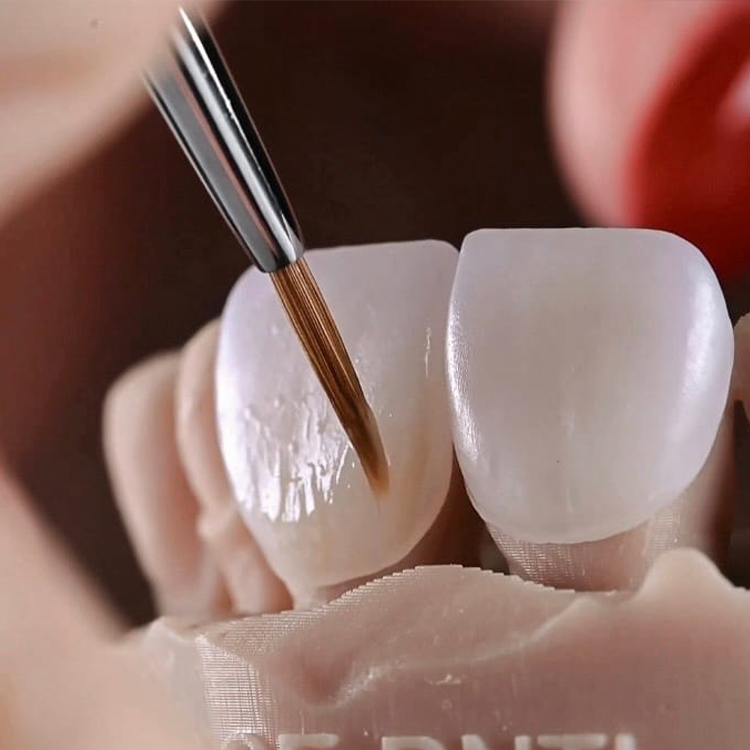
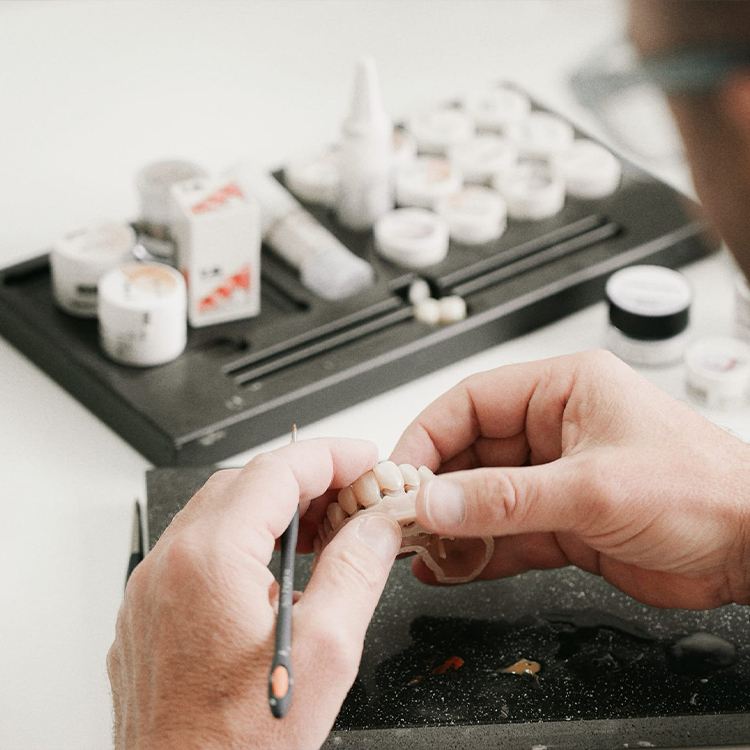
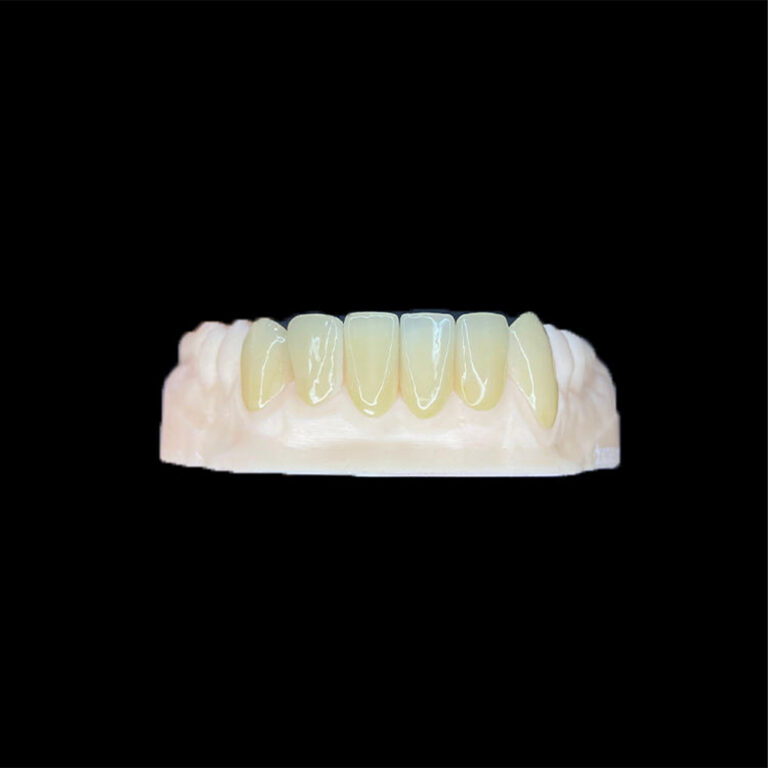
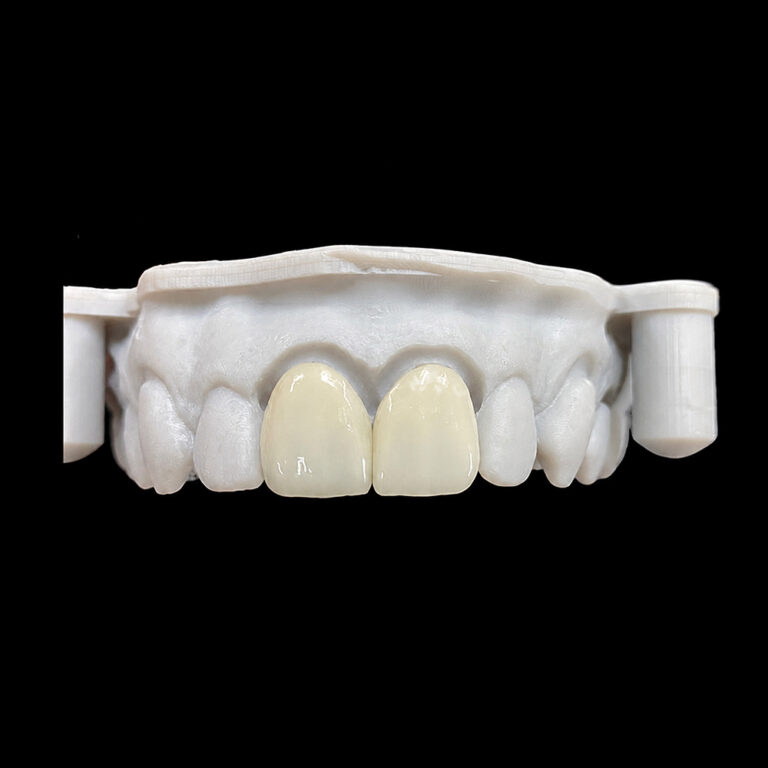
Replicating Natural Craze Lines in Premium Feldspathic Veneers
Craze Lines Are Not Decorative Cracks
Tiny lines matter.
A premium anterior veneer may have the correct shade, respectable translucency, clean margins, controlled proportions, and an attractive incisal halo, yet still look strangely synthetic because its ceramic surface lacks the quiet irregularities found in natural enamel.
So should the technician simply paint on a few white lines?
Absolutely not.
A natural enamel craze line is a narrow crack or infraction confined primarily to enamel, often presenting without pain or loss of tooth structure. Reviews of enamel-crack diagnosis distinguish these superficial lines from deeper cracks involving dentin, pulpal symptoms, or structural instability. The NIH-indexed review of enamel-crack diagnosis also shows why visual appearance alone cannot determine crack depth in a natural tooth.
A replicated craze line in a veneer is something different. It is intentional porcelain characterization designed to imitate the optical appearance of enamel history without creating a literal structural crack in the ceramic.
That distinction is non-negotiable.
In my assessment, the industry gets into trouble when technicians confuse imitation with duplication. They see a dark vertical line in a reference photograph and reproduce it as a continuous groove, a heavy stain, or a sharply defined white stripe.
The result is not natural-looking feldspathic veneers.
It is ceramic wearing stage makeup.
Artist Dental Lab’s hand-layered feldspathic veneer workflow specifically includes controlled translucency zones, incisal halos, customized craze lines, staining, glazing, and texture as prescribed. That last phrase matters: as prescribed. Craze-line characterization should originate from patient evidence, not from a technician’s favorite texture template.
Why Feldspathic Veneers Can Carry This Detail So Well
Feldspathic porcelain remains relevant because it gives a skilled ceramist unusually fine control over localized color, translucency, opacity, contour, and surface characterization.
There is no dense structural core dictating the entire facial appearance. In a carefully selected case, the technician can build optical depth through multiple porcelain layers and then place restrained internal or external effects where the natural tooth actually shows them.
This is the legitimate advantage of hand-layered porcelain veneers.
But here is the hard truth: feldspathic porcelain is not automatically premium. It becomes premium only when conservative preparation, enamel support, laboratory judgment, shade communication, occlusion, finishing, and bonding all support the material.
A 2022 retrospective clinical study followed 170 feldspathic ceramic veneers placed in 30 patients. After up to seven years, 156 veneers survived, producing a reported survival rate of 91.77% and a failure rate of 8.23%. Patients showing parafunctional signs of bruxism had been excluded from treatment, which is an important limitation whenever someone quotes the survival number without context. Read the full feldspathic veneer clinical study.
A broader 2024 systematic review and meta-analysis reported a pooled 96.13% survival rate for feldspathic veneers at a mean 10.4 years, with a 95% confidence interval of 91.32% to 98.89%. Lithium disilicate veneers reached 96.81% in the same analysis. Those figures support feldspathic porcelain as a defensible clinical material, but they do not prove that every thin, highly characterized veneer is safe in every mouth. Read the ceramic veneer survival meta-analysis.
Beautiful ceramics still obey function.
And craze lines cannot rescue a badly selected case.
What a Convincing Enamel Craze Line Actually Looks Like
Natural craze lines rarely behave like perfectly drawn pen marks. Their appearance changes with hydration, illumination, viewing direction, surface gloss, stain uptake, enamel thickness, and surrounding anatomy.
Some are visible only under raking light. Others show as pale interruptions. Older lines may collect discoloration and appear gray, brown, or amber. Certain lines stop before reaching the incisal edge. Some disappear inside a strong reflection and return when the observer moves.
That inconsistency is the point.
Direction Must Follow Tooth Structure
Craze lines generally appear vertical or slightly oblique on anterior facial surfaces, but they should not all run perfectly parallel to the long axis.
A line may lean mesially, fade through the middle third, or become more visible near a transitional zone. The reference tooth decides.
When the technician ignores facial anatomy, a craze line appears placed on top of the tooth rather than integrated into it. This is why the restoration’s transitional line angles and reflective zones should be established before fine characterization begins. Line angles control apparent width and the position of facial highlights; craze lines should live within that optical structure, not fight it.
Visibility Must Change Along the Line
A believable line should normally contain changes in value, width, continuity, and intensity.
One section may be almost invisible. Another may catch light as a pale enamel feature. A very small area may carry warmer or darker coloration if the reference tooth supports it.
One uninterrupted line of equal width and opacity from cervical to incisal is suspicious.
Nature is less obedient.
Craze Lines Must Not Compete With Perikymata
Craze lines and perikymata are different enamel features. Craze lines are crack-like vertical or oblique enamel infractions, while perikymata are shallow, generally horizontal surface expressions of enamel growth increments.
Both may appear on one tooth. But they should not receive equal visual weight.
The detailed guide to replicating perikymata in porcelain veneers explains why tertiary anatomy must remain subordinate to primary contour, secondary anatomy, and final gloss. The same rule applies to craze lines: the viewer should see a tooth, not a collection of technical effects.
Color Must Remain Subordinate to Value
Craze lines are frequently over-characterized because laboratories evaluate them at close range under magnification. At that distance, an effect may seem delicate. At normal smile distance, it may become an obvious dark slash.
And once the line reduces local value, the veneer may look dirty rather than natural.
The guide on why veneer value matters more than a shade-tab code is relevant here. A veneer’s apparent brightness depends on surface contour, reflection, ceramic thickness, stump shade, translucency, cement, and texture—not merely the printed shade designation.
The Laboratory Workflow I Would Trust
There is no universal craze-line recipe. Different porcelain systems, powders, stains, firing programs, thicknesses, and manufacturer instructions require different handling.
But the decision sequence should remain disciplined.
1. Read the Patient Before Reading the Shade Tab
Start with the patient’s age, adjacent enamel, smile exposure, lip movement, wear, incisal anatomy, and approved aesthetic direction.
A single central incisor beside natural teeth may demand precise duplication of a visible craze line. An eight-unit smile makeover may require only two or three faint, deliberately unequal effects across the entire case.
Those are not the same assignment.
2. Capture the Reference Under Several Lighting Conditions
One frontal smartphone image is not enough.
The laboratory should receive:
A full-face photograph at rest
A natural smile photograph
A broad smile photograph
A retracted frontal view
Right and left 45-degree views
A close macro photograph of the reference enamel
Unpolarized images with raking or lateral light
Cross-polarized images for internal color information
Shade-tab photographs
Individual stump-shade records
An incisal-edge view
The approved provisional or mock-up
A short video under moving light when the case is highly demanding
Cross-polarized photography helps reveal internal color but suppresses much of the surface reflection. It therefore cannot replace unpolarized images when the laboratory needs to read texture and craze-line visibility.
The clinic must communicate naturalness as a measurable specification. Artist Dental Lab’s guide to describing naturalness instead of merely requesting whiteness recommends sending value, chroma, translucency, stump shade, incisal effects, texture, and patient-approved references rather than writing “B1 natural” on the prescription.
3. Establish Form Before Characterization
I would not approve any craze-line mapping until the following are settled:
Tooth outline and length
Facial convexity
Three-plane contour
Mesial and distal transitional line angles
Developmental lobes
Incisal position and embrasures
Value and translucency distribution
Surface-texture intensity
Craze-line location
Final gloss
This order prevents an expensive mistake: using decorative detail to hide incorrect morphology.
It never works.
4. Decide Whether the Effect Is Internal, External, or Combined
Internal characterization can create depth because the effect sits beneath later porcelain layers. External characterization may provide greater control over final visibility and localized coloration.
A combined approach may be appropriate when a line needs depth in one region and only a faint surface interruption elsewhere.
But more stages do not guarantee a better result. Each additional stain, powder, firing, and finishing step introduces another variable. The laboratory should follow the ceramic manufacturer’s validated instructions rather than treating feldspathic porcelain like unrestricted studio pottery.
5. Finish the Surface Without Turning Detail Into Roughness
This is where artistry collides with material science.
A craze line should be visible because of controlled optical contrast, not because the veneer has been cut into a rough, plaque-retentive trench.
A 2010 study comparing glazed and unglazed feldspathic ceramic surfaces found that unglazed surfaces had significantly greater mean roughness, root-mean-square roughness, sharper peaks, and deeper pores, with differences reported at p < 0.01. Read the feldspathic ceramic surface-topography study.
A separate polishing comparison reported an average roughness of 2.73 ± 0.38 µm for unglazed feldspathic specimens before subsequent surface treatment. The study reinforces a simple point: grinding away glaze changes surface texture substantially, and controlled repolishing is not optional cleanup. Read the study of polishing and surface texture in dental porcelain.
The line can remain visually present while the surrounding ceramic remains refined.
That is the standard.
Craze-Line Characterization Decision Table
Case condition
Recommended characterization
Why it may work
Main risk
Single central veneer beside natural enamel
Closely reproduce the contralateral tooth’s visible line pattern
Small mismatches are immediately visible
Copying color but missing depth, direction, or gloss
Two anterior veneers
Use related but non-identical faint effects
Preserves individual variation
Creating mirrored “bookend” lines
Four-to-six premium feldspathic veneers
Limit effects to selected units and vary continuity
Breaks factory uniformity without creating visual noise
Giving every tooth the same technician signature
Young patient with unworn, visibly characterized enamel
Use fine, pale, intermittent lines supported by photos
Coordinates with existing enamel detail
Turning youthful characterization into obvious scratches
Older patient with worn, smooth adjacent teeth
Use minimal or no craze-line effects
Respects natural wear and reduced surface detail
Making the restoration look suspiciously young
Dark stump shade or strong masking requirement
Prioritize value and opacity control first
Prevents characterization from worsening darkness
Dark lines lowering value further
Heavy function, bruxism, deep bite, or edge-to-edge risk
Reconsider material and indication before characterization
Function carries more risk than surface aesthetics
Treating premium detail as proof of clinical suitability
Highly uniform patient-approved smile design
Use very restrained characterization
Respects the accepted aesthetic target
Adding irregularities the patient did not request
Where Premium Craze-Line Work Usually Fails
Every Veneer Receives the Same Line
This is the easiest failure to spot.
Two central incisors receive matching lines. The laterals receive scaled-down versions. The canines receive the same file stretched vertically.
The laboratory calls it consistency.
I call it evidence of duplication.
Natural teeth may share a family resemblance, but they do not behave like cloned ceramic units.
The Line Is Too Dark
Dark brown or gray characterization can be effective when reproducing a specific adjacent tooth, but it is a dangerous default.
A line that looks subtle on a white refractory model may look much heavier after bonding, hydration, and surrounding soft-tissue contrast enter the picture.
When uncertainty exists, I would rather understate the effect.
A missing craze line rarely ruins a case. An obvious black line can dominate it.
The Line Is Too Deep
A literal groove may trap stain during fabrication and become more visible than planned. It may also complicate final polishing.
Optical depth should come from layering, localized value changes, and controlled surface transitions—not from carving a canyon into thin porcelain.
Characterization Is Used to Distract From Flat Contour
This happens more often than laboratories admit.
The facial surface is broad. Line angles are poorly positioned. The central incisors look too wide. So extra texture and craze lines are added to break the reflection.
The neighboring central? The patient’s lower incisors? A celebrity photograph? A provisional? A ceramic sample shown during consultation?
Without an identified reference, the prescription transfers every aesthetic decision to the technician and leaves the clinic with no objective approval standard.
That is not collaboration. It is outsourced guessing.
A Better Craze-Line Prescription
A usable laboratory instruction might read:
Match the untreated maxillary right central incisor. Reproduce one faint, slightly distal-leaning craze line beginning in the cervical third, fading through the middle third, and returning as a pale interruption short of the incisal edge. Keep the effect discontinuous, lower in contrast than the adjacent tooth, and invisible at normal smile distance unless viewed under lateral light. Preserve medium surface gloss and avoid a tactile groove.
That instruction defines:
The reference tooth
Number of lines
Direction
Starting location
Ending location
Continuity
Contrast
Viewing condition
Surface finish
An explicit prohibition against over-carving
Now the laboratory has something it can fabricate, photograph, inspect, and revise.
“Make it natural” gives the team none of that.
FAQs
What are craze lines in feldspathic veneers?
Craze lines in feldspathic veneers are intentionally created optical details that imitate narrow, superficial lines seen within natural enamel without introducing an actual structural crack into the ceramic restoration. They may be produced through restrained internal layering, external characterization, localized texture, controlled staining, and final polishing based on patient-specific photographic references.
The purpose is not to make the veneer appear damaged. The purpose is to reproduce enamel individuality so the restoration integrates with surrounding teeth under changing light.
How do technicians replicate natural craze lines in porcelain veneers?
Technicians replicate natural craze lines by mapping their location, direction, color, width, continuity, and visibility from clinical photographs, then incorporating restrained internal or external characterization after the primary contour, line angles, translucency zones, and incisal anatomy have been established. The restoration is subsequently finished under a ceramic-system-approved glazing or polishing protocol.
No single technique suits every porcelain system. Material thickness, firing schedule, stain chemistry, reference-tooth anatomy, and final gloss all influence whether the line appears deep, superficial, pale, gray, or nearly invisible.
Do replicated craze lines weaken feldspathic veneers?
Properly replicated craze lines should not weaken feldspathic veneers because they are optical characterization rather than true cracks cut through the ceramic structure. However, aggressively carving deep grooves, leaving uncontrolled grinding damage, ignoring minimum thickness, or using excessive post-firing adjustment may create surface flaws and should not be confused with responsible craze-line reproduction.
The laboratory must preserve structural thickness and follow the porcelain manufacturer’s finishing instructions. A visual craze line should be achieved primarily through controlled optics, not through structural damage.
How many craze lines should a natural-looking veneer have?
There is no standard number of craze lines for a natural-looking veneer because natural enamel varies by tooth, patient age, wear, hydration, trauma history, and visibility under different lighting. The correct number is usually the fewest patient-specific lines needed to match adjacent enamel without creating a repeated or intentionally distressed appearance.
Some veneers need one faint line. Others need several interruptions. Many need none. Reference photographs should decide, not a generic laboratory texture library.
Are enamel craze lines the same as perikymata?
Enamel craze lines and perikymata are different features: craze lines are narrow vertical or oblique enamel infractions, whereas perikymata are shallow, generally horizontal surface growth markings associated with the external expression of the striae of Retzius. Both may contribute to natural appearance, but they require different orientation, scale, distribution, and visual intensity.
Perikymata belong to tertiary surface anatomy. Craze lines behave more like isolated historical features. Reproducing both too strongly can make a veneer look scratched rather than biological.
What records should a clinic send for craze-line characterization?
A clinic should send full-face, smile, retracted, angled, macro, shade-tab, stump-shade, and incisal photographs, including unpolarized raking-light images that reveal surface detail and cross-polarized images that show internal color. The submission should also identify the reference tooth, desired line intensity, provisional design, veneer material, unit count, and approved final gloss.
For high-value anterior cases, a short video under moving light can reveal when a craze line appears and disappears more effectively than a static photograph.
Turn Craze Lines Into a Measurable Prescription
Premium feldspathic veneers do not become natural because someone adds more details.
They become natural when the correct details are placed at the correct depth, on the correct tooth, with the correct visibility, inside a case whose preparation, enamel support, stump shade, occlusion, value, contour, and bonding plan all make sense.
Before sending the next case, choose the reference tooth. Photograph it under lateral light. Mark the line location. Define whether the effect should be white, neutral, gray, warm, continuous, interrupted, visible, or nearly invisible.
Then identify what the laboratory must not do.
For a single central veneer, premium anterior trial case, or customized feldspathic production workflow, submit the STL files, bite scan, shade and stump-shade records, clinical photographs, provisional reference, characterization map, and functional notes through the Artist Dental Lab case consultation form.
Do not purchase “artistry” as an undefined upgrade.