Veneer Maintenance for Long-Term Gloss, Texture, and Shade Stability
A veneer can survive and still age badly.
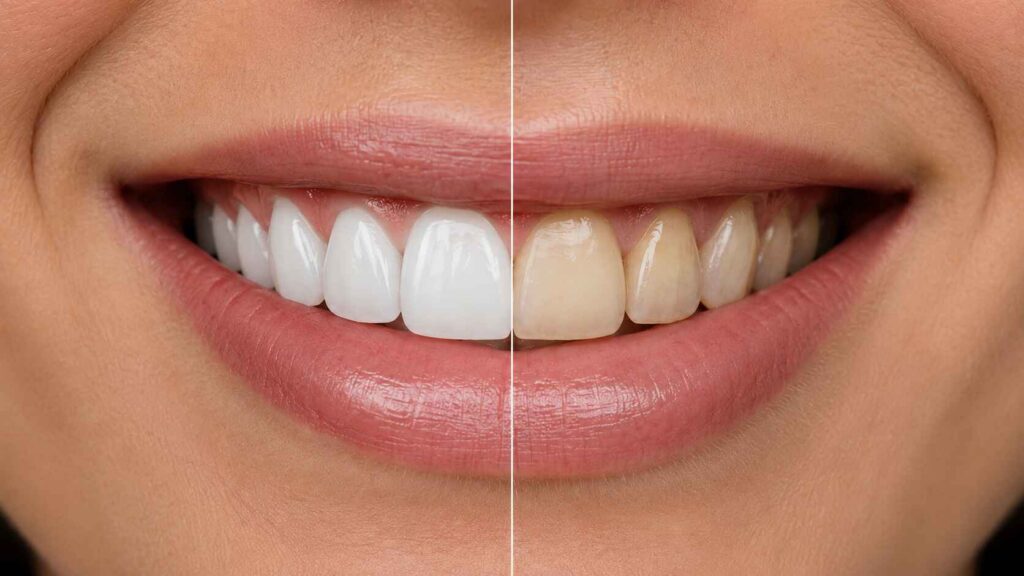
That distinction matters because the dental industry routinely uses “survival” as shorthand for success, even when a restoration remains bonded but has become duller, rougher, more reflective in the wrong areas, stained around the margins, or visually disconnected from the teeth beside it.
Why should a restoration be called successful merely because it has not fractured?
A 2021 systematic review indexed by the U.S. National Library of Medicine evaluated 25 clinical studies covering 6,500 porcelain laminate veneers and calculated an estimated 10-year cumulative survival rate of 95.5%. Fracture was the most common reported failure, followed by debonding. Those numbers are impressive, but they measure restoration survival—not preservation of the exact gloss, surface texture, and optical appearance delivered on bonding day.
That is the first hard truth about veneer maintenance.
Longevity and esthetic stability are not the same endpoint.
Veneer Maintenance Is Really Surface Management
When I look at long-term porcelain veneer care, I separate the case into four systems:
Ceramic surface condition
Bonded margins and supporting tooth structure
Optical relationship between ceramic, resin cement, and natural tooth
Functional loading from occlusion and parafunction
The patient usually sees one thing: “My veneers do not look as shiny as before.”
But the actual cause could be completely different.
The veneer may have accumulated deposits. A professional cleaning may have altered the surface. A chairside adjustment may have removed glaze. The adjacent enamel may have changed. Gingival recession may have exposed a cervical transition. Resin cement at a margin may have changed optically. Or the original ceramic texture may simply be reflecting light differently after years of surface wear.
Artist Dental Lab’s discussion of why veneer shade can appear different after bonding makes this same distinction: shade should be assessed alongside hydration, lighting, stump shade, ceramic material, cement, thickness, and surface texture rather than reduced to an A1-versus-B1 argument.
Small variables compound.
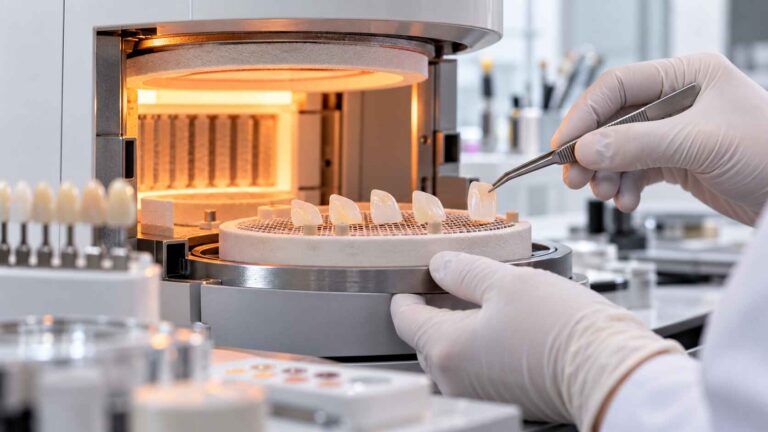
A porcelain veneer is not merely a white shell. Feldspathic porcelain contains a glass-rich ceramic system associated with compounds including SiO₂, Al₂O₃, K₂O, and Na₂O, while lithium disilicate is commonly represented as Li₂Si₂O₅. Natural enamel, by comparison, is largely hydroxyapatite, Ca₁₀(PO₄)₆(OH)₂. These surfaces do not respond identically to wear, polishing, instrumentation, or optical aging.
So maintenance cannot be generic.
Gloss Is Not Just “Shininess”
Clinicians sometimes talk about gloss as if it were cosmetic polish applied at the end of fabrication.
I disagree.
Gloss controls how light leaves the facial surface. Combined with line angles, developmental lobes, horizontal texture, incisal anatomy, and surface curvature, it changes the perceived width, value, depth, and age of a tooth.
Flatten that system and the restoration changes visually even if its Vita shade designation remains identical.
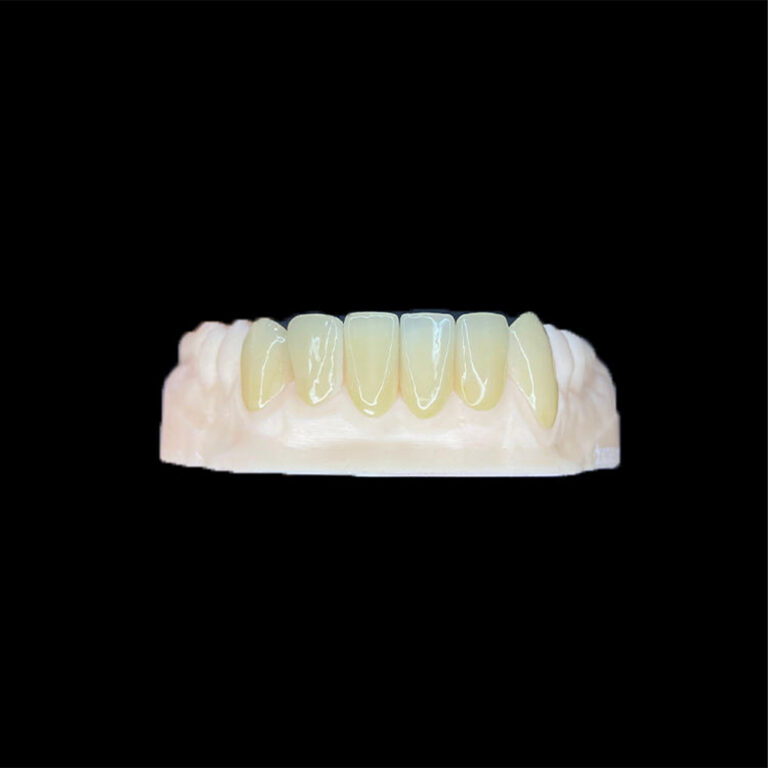
That is why our guide to veneer surface texture and ceramic selection separates primary contour, secondary developmental anatomy, tertiary microtexture, and selective gloss. A veneer can be microscopically smooth enough for clinical service without being visually flat.
This difference is easy to miss.
Smooth is not the same as flat
A properly finished veneer may contain:
Mesial and distal transition lines
Facial developmental lobes
Very shallow vertical depressions
Selective horizontal enamel-like texture
Incisal irregularity
Different gloss intensity across facial zones
Subtle asymmetry between contralateral teeth
Removing all of that in pursuit of “maximum shine” does not restore the veneer.
It redesigns it.
And once original surface anatomy has been ground away, polishing alone cannot reconstruct geometry that no longer exists.
Veneer Maintenance for Long-Term Gloss, Texture, and Shade Stability
What Actually Changes Veneer Gloss, Texture, and Shade?
The patient normally blames coffee.
Sometimes coffee deserves the blame. Often it gets too much credit.
A 2026 Scientific Reports study examined 48 specimens made from two CAD/CAM laminate veneer ceramics: CEREC Tessera advanced lithium disilicate from Dentsply Sirona and VITA Suprinity zirconia-reinforced lithium silicate from VITA Zahnfabrik. Researchers subjected specimens to brushing simulation plus coffee/tobacco thermocycling and assessed them after simulated six-month and one-year intervals.
The experiment used 10,000 brushing cycles as its simulated one-year endpoint. Surface roughness changes were not statistically significant across the tested groups, but color change after the combined brushing and coffee/tobacco protocol exceeded the study’s clinically accepted range for the tested materials. The authors also emphasized that this was an in-vitro experiment, not a direct prediction of what every patient’s veneers will look like after one year.
That limitation matters.
Laboratory aging studies accelerate specific variables. Real mouths add saliva, plaque, diet, pH changes, toothbrushing technique, occlusion, professional cleaning, resin cement, gingival tissues, individual ceramic thickness, and hundreds of behavioral differences.
Still, the message is useful: surface finish and exposure history matter.
Veneer Maintenance Risks at a Glance
Factor
Main Long-Term Concern
What the Clinical Team Should Watch
Better Maintenance Response
Normal daily brushing
Plaque control with possible cumulative surface interaction
Changes in gloss or localized roughness
Use clinician-recommended brushing products and technique
Highly abrasive or aggressive whitening products
Surface abrasion
Increasing matte appearance or fine scratches
Do not assume “whitening” means veneer-safe
Coffee, tea, red wine, tobacco
Extrinsic color exposure
Surface stain, marginal discoloration, mismatch with adjacent teeth
Maintain plaque control and assess the actual source of discoloration
Professional scaling and prophylaxis
Instrument/material interaction
Scratches or changes in surface finish
Identify the restoration material before aggressive instrumentation
Chairside ceramic adjustment
Loss of glaze, texture, line angles
Local roughness or an unnaturally flat reflection
Re-polish with a ceramic-specific sequence
Bruxism or heavy functional loading
Edge wear, chipping, fracture
Incisal microdamage and changing contact patterns
Evaluate occlusion and consider protective therapy when indicated
Gingival recession
Newly visible margins
Cervical shade transition or exposed tooth structure
Evaluate periodontal condition and margin integrity
Aging resin-cement interface
Optical change near margins
Localized color discrepancy
Determine whether the ceramic, cement, tooth, or margin is responsible
The important point is diagnostic discipline.
Do not polish first and diagnose later.
Porcelain Veneer Care Starts With Ordinary Plaque Control
The least glamorous part of veneer aftercare is also the most defensible.
The American Dental Association’s patient guidance on dental veneers recommends brushing twice daily with fluoride toothpaste and cleaning between the teeth once daily using floss or another interdental cleaner.
That recommendation sounds almost disappointingly ordinary.
Good.
Patients do not need a cabinet full of exotic “veneer maintenance” products simply because ceramic has been bonded to their anterior teeth.
They need reliable plaque control around restorations whose margins still depend on healthy supporting teeth and periodontal tissues.
The margin matters more than the marketing
Porcelain itself does not develop dental caries.
The tooth supporting it can.
That means dental veneer maintenance should include evaluation of:
Gingival inflammation
Plaque accumulation
Marginal staining
Open or defective margins
Secondary caries
Resin-cement exposure
Interproximal cleanliness
Incisal wear
Occlusal contacts
Localized roughness
A glossy facial surface means very little if the cervical margin is failing.
Be Careful With the Whitening-Toothpaste Mentality
Patients naturally assume that anything marketed for whitening will help keep veneers bright.
That assumption can be dangerous.
Whitening toothpastes mainly target extrinsic stain through mechanical and chemical mechanisms, and restorative materials do not necessarily respond like enamel. Research published in recent years has specifically examined how toothpaste abrasivity and simulated brushing can change surface properties of CAD/CAM restorative materials.
My working rule is simple: do not choose a toothpaste for a ceramic restoration based solely on the word “whitening.”
If a patient thinks the veneers are becoming darker, the clinician should first determine what actually changed:
Ceramic surface
Natural teeth beside the veneers
Exposed cervical enamel or dentin
Resin-cement margin
Surface deposits
Lighting conditions
Gingival position
Underlying substrate visibility
Trying to solve every shade complaint with more abrasion is lazy dentistry.
How to Keep Veneers Shiny Without Erasing Their Texture
Here is where maintenance becomes technical.
A veneer that feels rough after adjustment or professional instrumentation may need repolishing. But repolishing is not permission to turn the facial surface into a mirror.
Artist Dental Lab’s technical guide on re-polishing porcelain veneers explains the target clearly: visible developmental anatomy can remain while the ceramic surface itself is refined to an appropriately smooth, cleanable finish.
That distinction should drive the sequence.
First determine why the gloss changed
Before reaching for a polishing system, inspect whether the defect is:
Deposit-related
Superficial staining
Loss of glaze
Diamond-adjustment damage
Prophylaxis scratching
Localized ceramic wear
A fractured surface
A margin problem
A contour problem
These are not interchangeable diagnoses.
Then locate the exact zone
A rough cervical spot needs a different mindset from a flattened central facial reflection.
An altered incisal edge is different again because shortening and polishing the edge can change tooth length, phonetics, embrasure relationships, incisal translucency, and surface character simultaneously.
It should not automatically remove every sign of texture.
Look at the veneer under directional light. Rotate the patient. Compare the width and position of the facial reflection with adjacent teeth. A surface may feel smooth with an explorer yet still look wrong because the transition lines or lobes were flattened.
That is where macro photography becomes useful.
Shade Stability Is More Complicated Than Stain Resistance
Patients often ask how to prevent veneer staining.
The narrow answer is to limit excessive exposure to strong pigments and maintain good oral hygiene.
The better answer is that visible veneer shade is produced by multiple optical layers.
A thin anterior restoration can be influenced by:
Ceramic composition
Ceramic thickness
Ceramic translucency
Surface texture
Surface gloss
Stump shade
Resin-cement shade
Cement thickness
Tooth hydration
Adjacent natural enamel
Gingival position
Lighting conditions
So when a veneer looks different after five or ten years, blaming “porcelain staining” without investigating those variables is weak diagnosis.
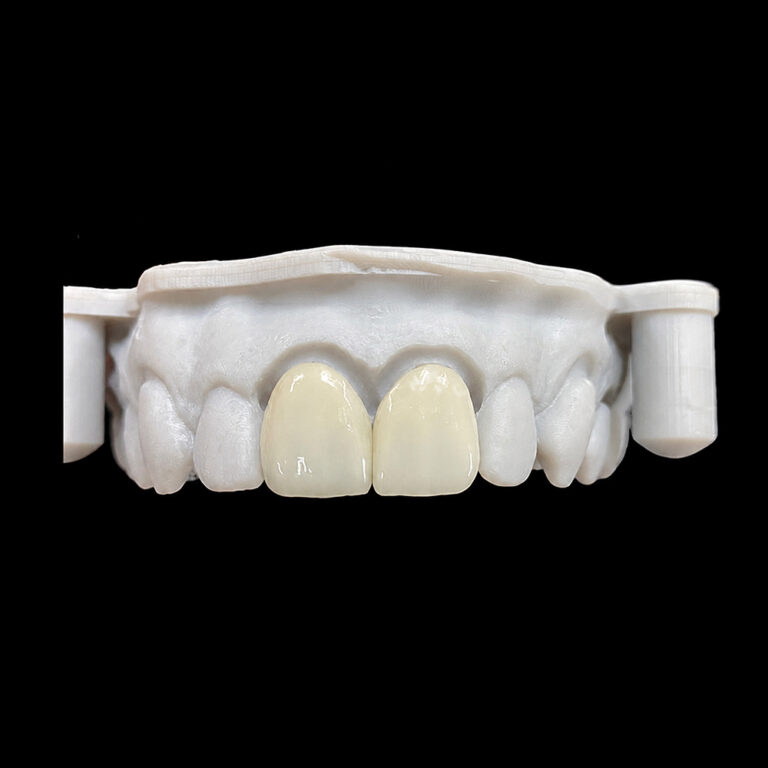
This becomes especially obvious when only one restoration needs replacement. Artist Dental Lab’s guide to replacing one veneer in a multi-unit case explains why the new unit must match the current smile—including accumulated wear, gloss, texture, bonded color, and surrounding tooth appearance—not merely reproduce the original laboratory shade prescription.
That principle matters in maintenance too.
The clinical target changes with time.
The 0.2 µm Number Needs Context
One number appears repeatedly in surface-roughness literature: approximately 0.2 µm Ra.
The 2026 Scientific Reports paper discussed surface irregularities below roughly 0.2 micrometers in relation to reducing bacterial adhesion, while also warning that surface roughness should be considered together with the material and finishing protocol.
Useful number?
Yes.
Magic clinical threshold?
No.
A profilometer reading does not tell you whether an anterior restoration looks natural. Surface roughness and visible surface morphology are different scales of information.
A restoration could measure acceptably smooth while looking unnaturally flat.
Or it could display carefully designed macro- and microtexture while remaining clinically smooth.
That is why I resist one-number dentistry.
Professional Cleaning Can Help—or Undo Good Laboratory Work
Professional maintenance is essential, but “professional” does not automatically mean harmless to every restorative material.
A 2023 study indexed in PubMed examined dental prophylaxis procedures and reported material-dependent effects; ultrasonic scaling significantly increased surface roughness in the polymer-infiltrated ceramic network veneer specimens tested. Other research has similarly evaluated how ultrasonic and manual scaling affect CAD/CAM ceramic surface topography.
The takeaway is not “never scale around veneers.”
That would be absurd.
The takeaway is to identify what you are cleaning.
Material awareness should influence instrumentation, polishing media, pressure, and whether a restoration needs subsequent refinishing.
Record the material before maintenance becomes guesswork
For complex veneer cases, the clinic should retain:
Ceramic manufacturer and material
Feldspathic, lithium disilicate, ZLS, or other material designation
Layered versus monolithic design
Original shade
Stump shade
Resin cement used
Approximate ceramic thickness when available
Final laboratory photographs
Texture and gloss references
Date and location of later adjustments
Years later, those records can separate intelligent maintenance from experimentation.
A Practical Long-Term Veneer Aftercare Protocol
I prefer a simple system rather than a giant patient instruction sheet nobody follows.
Daily
Brush twice daily using fluoride toothpaste and a technique recommended by the treating dental professional.
Clean interproximally every day.
Pay attention to bleeding, food trapping, new roughness, or floss shredding around a margin.
After heavy pigment exposure
Do not panic because the patient drinks coffee.
Instead, maintain consistent oral hygiene and monitor whether discoloration is appearing on the restoration, the surrounding teeth, or specifically at the margins.
The 2026 CEREC Tessera and VITA Suprinity study shows why coffee/tobacco exposure deserves attention, but its accelerated laboratory protocol should not be presented as a guaranteed timeline for clinical discoloration.
At professional recalls
Evaluate the veneer as a restoration, not just as part of a cleaning appointment.
Check:
Margin integrity
Gingival condition
Plaque and calculus
Surface deposits
Gloss
Localized roughness
Incisal wear
Chips or cracks
Occlusal contacts
Shade relationship with adjacent teeth
Recall timing should be individualized by the treating dentist rather than forced into a universal maintenance interval.
After any ceramic adjustment
Document exactly where ceramic was changed.
Then restore the surface using a finishing and polishing protocol compatible with the actual ceramic.
This is where many good veneers are downgraded.
The lab spends hours controlling line angles, lobes, texture, incisal effects, and selective gloss; a two-minute indiscriminate adjustment can erase part of that work.
Short appointment. Long consequence.
Long-Term Success Should Be Photographed, Not Remembered
Human visual memory is unreliable.
If a clinician wants to determine whether a veneer has actually lost gloss or shifted visually, compare standardized images rather than relying on “I think it used to look brighter.”
I recommend retaining:
Immediate post-bonding frontal image
Retracted frontal image
Right and left 45-degree views
Polarized shade image when available
Close-up surface-reflection image
One-week or post-hydration reference
Periodic long-term photographs when esthetic changes are suspected
Use the same lighting setup when possible.
Why?
Because surface reflection can make two objectively similar ceramic shades appear different, and hydration can alter the appearance of the natural tooth substrate around recently bonded veneers. Artist Dental Lab’s one-week veneer shade analysis specifically recommends standardized lighting, repeat photography, and documentation of ceramic, cement, thickness, texture, and substrate conditions before diagnosing a mismatch.
Data beats memory.
When Maintenance Is No Longer Enough
Not every dull veneer needs replacement.
But not every veneer should be polished indefinitely either.
Repolishing makes the most sense when the restoration is structurally intact and the problem is limited to superficial roughness, minor gloss loss, or localized surface damage.
Replacement becomes a more serious discussion when there is:
Ceramic fracture
Significant chipping
Recurrent debonding
Secondary caries
Defective margins
Major contour error
Deep optical mismatch
Severe loss of ceramic anatomy
Structural thinning from repeated adjustments
Remember the survival data.
The 2021 systematic review’s 95.5% estimated 10-year cumulative survival rate shows what porcelain laminate veneers can achieve as a category, but the study also identified fracture and debonding as meaningful failure modes.
Maintenance should extend the life of a sound restoration.
It should not disguise failure.
FAQs
What is the best way to maintain porcelain veneers long term?
Long-term veneer maintenance is the combined home-care and professional protocol used to protect ceramic surfaces, bonded margins, supporting teeth, gingival health, and occlusion so veneers retain acceptable gloss, texture, shade, and function without unnecessary abrasive polishing or repeated chairside adjustment.
Daily plaque control remains the foundation. The ADA recommends brushing twice daily with fluoride toothpaste and interdental cleaning once daily, while the clinical team should periodically assess margins, periodontal condition, surface roughness, occlusion, chips, and changes in gloss or shade.
How should porcelain veneers be cleaned?
Porcelain veneers should be cleaned with the same plaque-control discipline used for natural teeth: twice-daily brushing with fluoride toothpaste, daily interdental cleaning, and clinician-directed professional care, while avoiding unnecessarily aggressive abrasive products or unsupervised polishing that can change the restoration’s finished surface.
The professional team should also know which ceramic is present because polishing compounds and instrumentation can interact differently with feldspathic porcelain, lithium disilicate, zirconia-reinforced lithium silicate, resin-matrix ceramics, and other restorative materials.
How do you keep veneers shiny?
Keeping veneers shiny means preserving the ceramic’s established surface finish rather than repeatedly polishing it: control plaque, use appropriate home-care products, avoid biting or grinding habits that damage edges, and have any dull or rough area evaluated so the clinician can distinguish deposits, surface abrasion, glaze loss, or structural damage.
If repolishing is required, the goal should be a smooth surface with preserved line angles and natural texture—not the flattest or most mirror-like facial surface possible.
How can patients prevent veneer staining?
Preventing veneer staining means minimizing extrinsic pigment accumulation while protecting surface smoothness and marginal integrity; porcelain ceramics are relatively color-stable, but coffee, tobacco exposure, surface roughening, resin-cement margins, and adjacent natural teeth can still alter how the restoration looks over time.
A 2026 laboratory study involving CEREC Tessera and VITA Suprinity veneers found clinically relevant color change after its combined simulated brushing and coffee/tobacco aging protocol, although the authors emphasized that in-vivo research is still required.
Can porcelain veneers be re-polished?
Veneers can be re-polished when the problem is superficial roughness, minor loss of gloss, or a localized finishing defect and the ceramic remains structurally sound, but re-polishing should be material-specific because aggressive reduction can erase texture, alter line angles, thin ceramic, or expose a different optical surface.
When cracks, deep defects, defective margins, recurrent caries, or major contour problems are present, polishing may improve appearance temporarily without solving the underlying clinical problem.
How often do veneers need professional maintenance?
Veneer maintenance frequency is not a universal six-month rule; it is a risk-based recall plan set by the treating dentist according to plaque control, periodontal status, caries risk, bruxism, occlusion, restoration age, margin condition, and whether previous cleanings or adjustments have changed the ceramic surface.
Patients with stable periodontal health and excellent plaque control may require a different maintenance pattern from patients with bruxism, recurrent inflammation, exposed margins, heavy stain exposure, or restorations that have already undergone repeated chairside adjustments.
Protect the Surface You Paid the Laboratory to Create
Veneer maintenance should not begin when something looks wrong.
It begins when the case is delivered.
Record the material. Photograph the surface. Preserve the original shade and texture references. Tell the hygiene team what ceramic is present. Reassess occlusion when function changes. And when a veneer becomes rough or dull, diagnose the reason before automatically polishing it.
That discipline protects more than gloss.
It protects the design.
For clinics planning demanding anterior cases, replacements, or restorations where surface texture and shade stability must remain predictable across multiple units, send your STL files, stump-shade photographs, case photos, material requirements, and esthetic references through the Artist Dental Lab veneer consultation and trial-case page.