Why Veneer Shade Can Appear Different One Week After Bonding
A veneer can appear different one week after bonding because the restoration is no longer being viewed under the same biological, optical, and environmental conditions that existed during try-in or immediately after cementation.
Color is dynamic.
A thin porcelain veneer does not produce its appearance alone; it acts as one layer in an optical stack that includes the prepared tooth, remaining enamel, exposed dentin, resin cement, ceramic thickness, translucency, surface texture, saliva, gingival tissues, and the light source illuminating the face.
So why do we keep discussing veneer shade as though it were a paint code?
In my review of anterior cases, I see the same mistake repeatedly: the veneer is labeled “too white,” “too gray,” or “too opaque” before anyone checks whether the natural teeth were dehydrated during bonding, whether the comparison photograph was taken under a different light, or whether the selected try-in paste accurately represented the cured cement.
That is not shade analysis. It is guessing.
The One-Week Difference Is Usually an Optical Shift, Not Porcelain Repainting Itself
Porcelain does not normally undergo a dramatic intrinsic color transformation during the first seven days. What changes is the way the complete veneer-tooth assembly absorbs, reflects, scatters, and transmits light.
The final visible result can be simplified as:
Prepared tooth color + resin cement + ceramic opacity and thickness + surface reflection + surrounding tissue and light
Remove any one of those variables from the diagnosis and the explanation becomes unreliable.
Adjacent Teeth Rehydrate After the Bonding Appointment
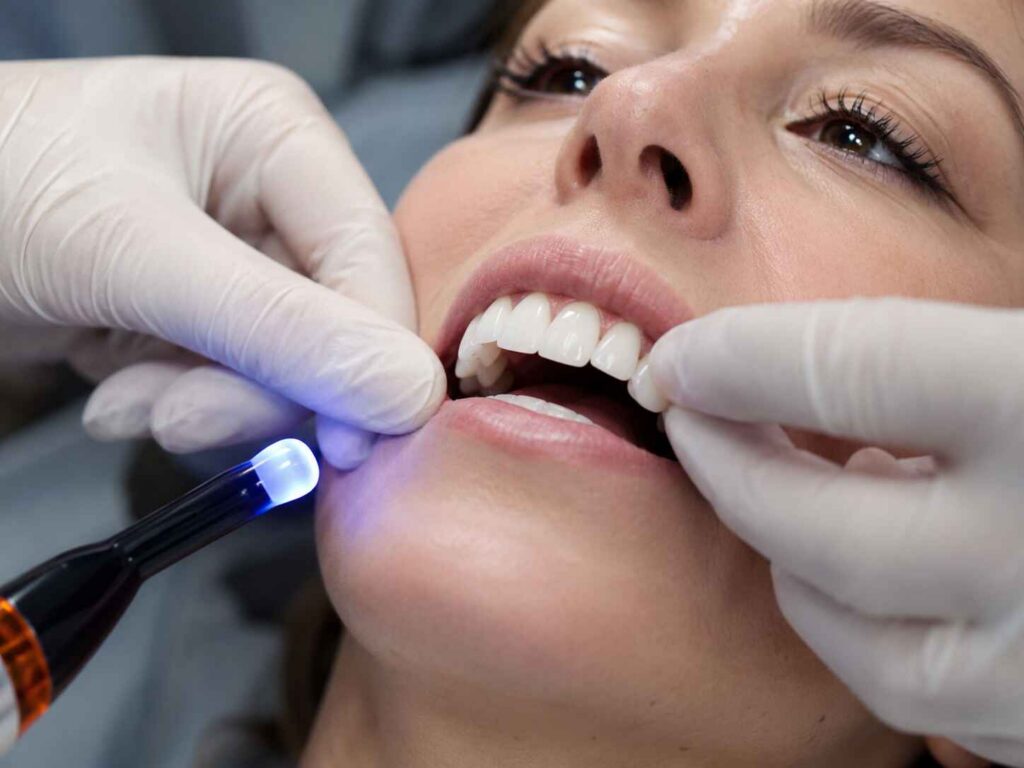
During veneer bonding, natural teeth may be exposed to retractors, compressed air, cotton rolls, suction, rubber-dam isolation, prolonged mouth opening, and reduced contact with saliva. Enamel loses water and temporarily becomes lighter and more opaque.
A veneer tried beside dehydrated teeth can therefore appear to match at the appointment. When the natural teeth rehydrate, they may regain their darker, warmer, or more translucent baseline appearance, making the bonded veneer look brighter by comparison.
A randomized clinical study found that dehydrated teeth became measurably lighter and had not returned to their baseline shade after 30 minutes of rehydration. The researchers advised completing shade matching before clinical isolation causes significant dehydration, as reported in the randomized controlled trial on tooth dehydration and shade selection.
A separate clinical investigation evaluated teeth after 10, 20, and 30 minutes of dehydration. Even after 30 minutes of rehydration, the incisal third showed a mean CIEDE2000 color difference of ΔE00 1.96 ± 1.10. After 24 hours, the mean changes fell below the study’s perceptibility threshold.
That distinction matters.
By one week, appointment-related dehydration itself should no longer be continuing. But the patient may now be comparing the veneer with fully rehydrated adjacent teeth rather than the artificially lighter teeth seen at delivery.
The veneer did not necessarily become brighter.
The reference changed.
Resin Cement Becomes Part of the Final Shade
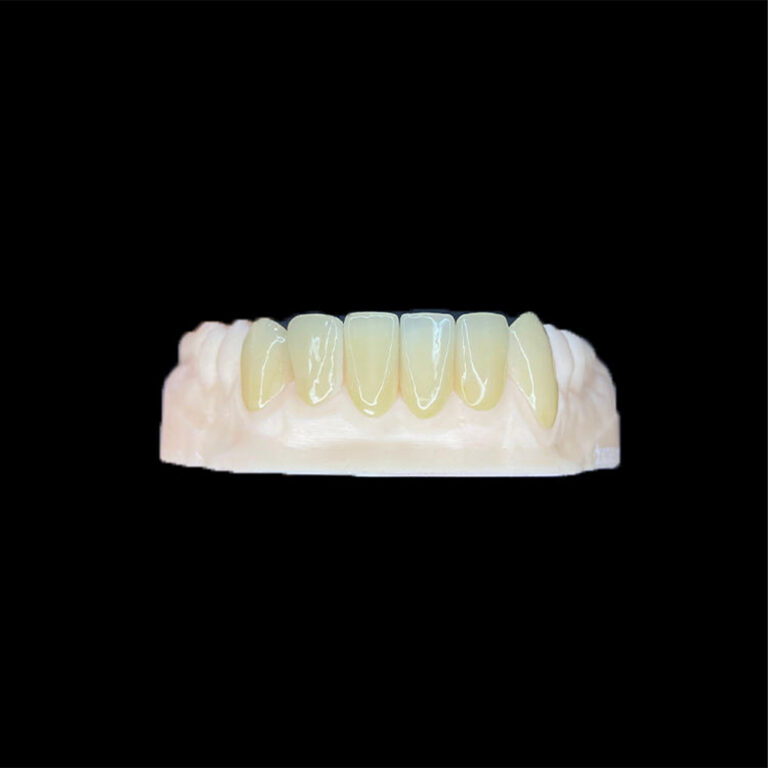
A thin veneer is not optically independent from its luting material. Resin cement may alter value, chroma, warmth, opacity, and the apparent depth of the ceramic, especially when the restoration is highly translucent or approximately 0.3–0.7 mm thick.
And here is the uncomfortable truth: try-in paste is an estimate.
It is not always a perfect optical duplicate of polymerized resin cement.
A 2019 investigation tested 90 zirconia veneer specimens at thicknesses of 0.5 mm and 0.7 mm, using Universal, Clear, Brown, White, and Opaque try-in paste and cement shades. The Universal groups produced mean color differences of ΔE 0.93 at 0.5 mm and ΔE 0.85 at 0.7 mm. The highest differences reached ΔE 2.57 for White at 0.5 mm and ΔE 2.29 for Opaque at 0.7 mm. Both cement shade and ceramic thickness significantly affected agreement between the paste and cured cement.
This does not mean try-in pastes are useless. It means they should not be treated as infallible.
A further laboratory study examining light-cured veneer cements after seven days reported that RelyX Veneer produced the lowest measured color change among the tested systems, while several other cement groups crossed the study’s clinically visible threshold. Because this was an in-vitro experiment, it should not be interpreted as proof that every patient will see the same shift, but it confirms that early cement optics can vary by formulation and curing conditions.
Stump Shade Is Still Visible Through Thin Ceramic
A veneer shade mismatch is often blamed on the external ceramic shade when the real variable is underneath it.
Prepared teeth may differ because of:
Remaining enamel thickness
Dentin exposure
Old composite restorations
Endodontic treatment
Tetracycline or fluorosis discoloration
Metal posts or dark cores
Different preparation depths
Varying enamel dehydration
A 0.5 mm translucent veneer over bright enamel does not behave like the same veneer over a brown-gray preparation. Nor does a clear cement behave like an opaque or bleach cement over both substrates.
That is why a laboratory needs a stump-shade record for every prepared tooth rather than one shade code for the whole case. Artist Dental Lab’s guide to the records required for anterior veneer cases explains how final shade, stump shade, preparation photographs, facial records, and approved provisional designs should be submitted as separate pieces of evidence.
When clinics omit stump shade, the technician is being asked to manage an invisible substrate.
What could possibly go wrong?
What Can Change Between Bonding Day and Day Seven?
The timing and pattern of the difference help separate a temporary perception issue from a genuine material or clinical mismatch.
Possible factor
What may appear different
Expected timing
What should be checked
Natural-tooth rehydration
Veneers look brighter or more opaque beside adjacent teeth
First hours to 24–48 hours
Compare with fully hydrated teeth
Resin cement polymerization and early water exposure
Cervical area looks darker, redder, shorter, or less symmetrical
Several days to a few weeks
Tissue health, excess cement, margin condition
Ceramic thickness variation
One unit looks brighter, grayer, or more masked
Persistent
Thickness map, reduction, opacity and layering
Different stump shades
Uneven value across multiple veneers
Persistent
Individual preparation photographs and shade tabs
Saliva and surface hydration
Dry veneers look chalkier; wet surfaces look deeper and more translucent
Changes within minutes
Evaluate after normal oral hydration
Lighting and camera processing
Shade changes between bathroom, clinic, car, daylight, and photographs
Immediate and repeatable
Fixed light source, exposure, white balance and screen
Surface texture or excessive gloss
Tooth appears wider, brighter, flatter, or more artificial
Persistent
Line angles, texture, glaze and reflection pattern
Seating or cement-film inconsistency
One veneer differs from neighboring units
Persistent and localized
Fit, complete seating, film thickness and margins
This table exposes the weakness of the phrase “wait for it to settle.”
What exactly is settling?
Natural teeth may be rehydrating. Gingival tissue may be recovering. Resin cement may be completing early optical changes. Saliva may be returning to a previously dry surface. But ceramic thickness, incorrect opacity, poor seating, and an undocumented stump shade will not correct themselves because another week passes.
Waiting is not a diagnosis.
Why Value Is Usually More Important Than the Printed Shade Code
Many patients describe a veneer as “the wrong color” when the more precise problem is wrong value.
Value is the relative lightness or darkness of a tooth. It controls how prominent, wide, flat, deep, or artificial a restoration appears before the observer starts identifying smaller differences in hue or chroma.
A high-value veneer can look:
Too white
Too broad
Too flat
Too opaque
Too close to the camera
Visually disconnected from neighboring teeth
A low-value veneer can look:
Gray
Narrow
Recessed
Thin
Excessively translucent
Shadowed at the incisal edge
Surface form can amplify the problem. A broad, over-glazed facial surface reflects one large block of light and may look brighter than a correctly textured veneer made from the same ceramic ingot and cemented with the same resin.
Artist Dental Lab’s analysis of why value matters more than a veneer shade tab explains why value should generally be evaluated before chroma and hue, and why photography, stump shade, thickness, resin cement, line angles, and surface texture must be interpreted together.
My blunt opinion is that many supposed shade failures are reflection failures.
The lab may have matched the requested A1 or BL3 tab. But if the ceramic is over-contoured, excessively smooth, uniformly glazed, or missing natural transitional line angles, it will throw light differently from the adjacent tooth.
The shade code can be correct while the tooth still looks wrong.
How Ceramic Thickness and Material Change the Result
The thinner and more translucent the restoration, the more influence the substrate and cement can exert.
But greater opacity is not automatically safer.
Adding opacity may hide a dark stump while also reducing depth, fluorescence, internal variation, and enamel-like light transmission. The result can match under a dental light yet appear flat in daylight.
Feldspathic Porcelain
Feldspathic veneers can reproduce delicate translucency, internal effects, halo formation, and micro-texture in enamel-rich cases. That same optical sensitivity makes them less forgiving when the stump is dark, reduction is uneven, or the laboratory receives incomplete shade information.
Lithium Disilicate
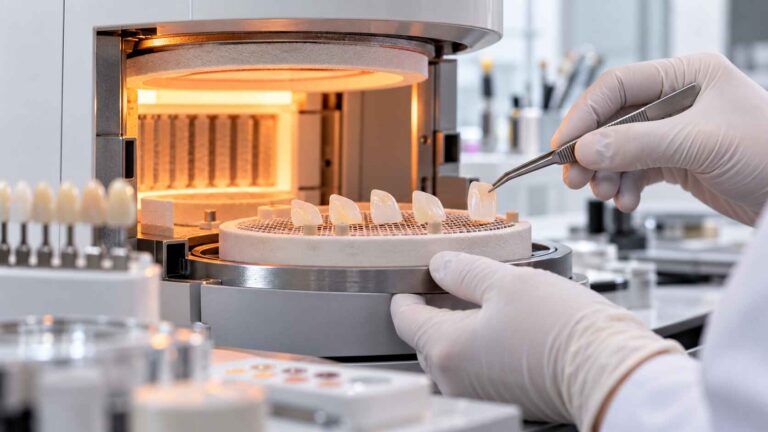
Lithium-disilicate systems such as IPS e.max can provide different translucency and opacity levels, allowing the technician to balance masking with light transmission. But the ingot selection, ceramic thickness, stain or layering plan, stump shade, and cement must still work as one system.
Zirconia
High-translucency zirconia may offer additional masking or strength in selected cases, but its optical behavior differs from glass ceramic. Selecting it only because it is “stronger” ignores the case’s bonding conditions, thickness, substrate, surface treatment, and esthetic target.
The decision should be clinical, not tribal. Artist Dental Lab’s case-based comparison of E.max, zirconia, and feldspathic veneers connects material selection with stump shade, enamel availability, preparation design, masking requirements, occlusion, and the intended light behavior.
A One-Week Shade Review Should Be Controlled, Not Emotional
A patient should not be asked whether the veneers “look okay” while standing beneath a single blue-white operatory lamp.
That is not an evaluation protocol.
A useful one-week review should be performed with the teeth normally hydrated and before prolonged air drying, polishing, rubber-dam placement, or isolation changes their appearance.
Use Consistent Viewing Conditions
Evaluate the veneers:
With the patient upright
At conversational distance
Under neutral clinical lighting
Near indirect daylight when available
With the lips and full face visible
With retractors for a second close examination
With the surfaces normally wet
Beside identified shade tabs in the same facial plane
The patient should also be asked whether the mismatch appears in every environment or only in mirrors, smartphone images, warm indoor lighting, or direct sunlight.
A restoration that looks wrong under every condition presents a different problem from one that appears different only in a front-camera photograph.
Standardize the Photography
Useful shade photographs should use:
Manual exposure
Fixed white balance
Repeatable flash position
RAW files when available
A gray card or calibration reference
Identified shade tabs
Matching camera-to-subject distance
Cross-polarized images for internal color
Non-polarized images for surface texture and gloss
Full-face and retracted views
Do not compare an automatic-exposure smartphone photograph from bonding day with a macro-camera image taken one week later and call the difference scientific.
The camera may have changed exposure, white balance, contrast, sharpening, HDR processing, skin-tone correction, and local brightness before the image reached the screen.
Sharp is not accurate.
Compare the Correct Areas
The clinician and laboratory should compare:
Cervical value
Middle-third value
Incisal translucency
Mamelon or halo effects
Warmth and chroma
Surface gloss
Line-angle reflection
Adjacent natural teeth
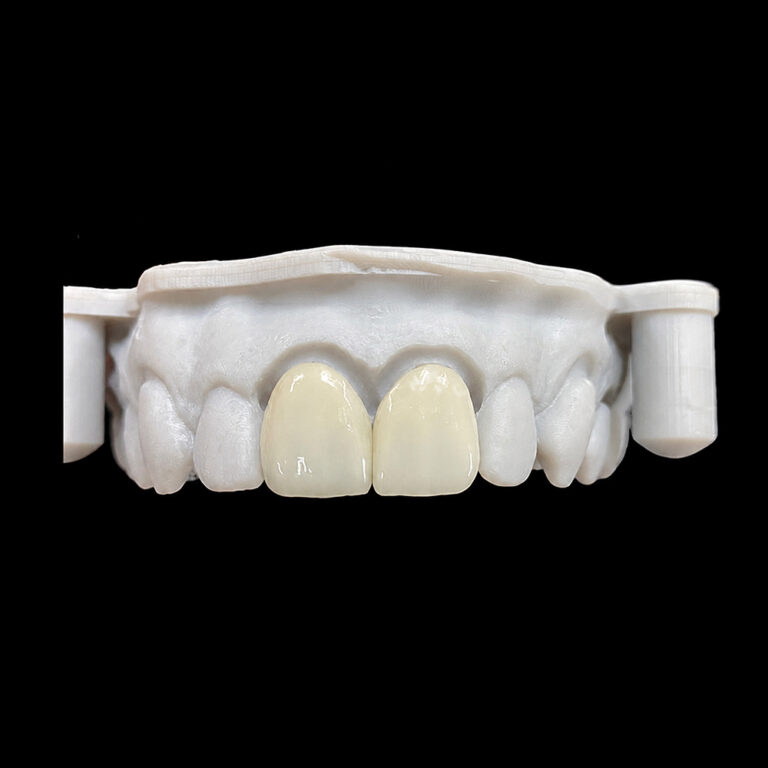
Symmetry between central incisors
The margin under hydrated conditions
The two central incisors deserve particular attention. Humans notice central-incisor asymmetry rapidly because those teeth define the visual center of the smile.
A small value difference between the centrals may attract more attention than a greater hue difference on a canine.
When “Give It More Time” Is Reasonable—and When It Is Not
A mild, generalized difference that is decreasing, appears only under specific lighting, and is not associated with pain, movement, marginal discoloration, or tissue problems may justify controlled observation and repeat photography.
But a persistent one-unit mismatch deserves investigation.
Watch more closely when:
One veneer is visibly different in all lighting
A dark line is developing at one margin
The veneer appears incompletely seated
The cervical area remains inflamed
Excess cement is suspected
The tooth is painful or increasingly sensitive
The restoration moves or feels unstable
The mismatch is increasing rather than decreasing
The patient’s approved try-in photographs clearly differ from the bonded result
These findings do not automatically prove that the veneer must be removed. They mean “settling” is no longer an adequate explanation.
And removal is not trivial.
A 2024 narrative review reported that dental veneers generally achieved survival rates above 90% over periods exceeding 10 years, while fracture, debonding, and color change remained among the documented failure patterns. The data support careful diagnosis rather than reflexively replacing a restoration because of an uncontrolled photograph taken seven days after treatment.
How Clinics and Laboratories Can Prevent the Mismatch
The solution starts before preparation.
Record Shade Before Dehydration
Take baseline shade records before retractors, air drying, rubber-dam isolation, or prolonged treatment changes the enamel.
Photograph Every Stump
Do not submit one stump shade for ten preparations. Record each tooth independently with an identified shade tab.
State the Ceramic Thickness
A cement recommendation without ceramic thickness is incomplete. A cement that meaningfully shifts a 0.3 mm veneer may have far less visible effect under a thicker or more opaque restoration.
Test More Than One Cement Option
Evaluate try-in pastes with the restorations fully seated, the patient upright, and the teeth hydrated. Compare neutral, warm, high-value, or opaque options only when the clinical problem justifies them.
Prescribe Optical Behavior
“B1 natural” is not a laboratory prescription.
A usable prescription should define value, cervical saturation, incisal translucency, opacity, halo, texture, gloss, line angles, stump shade, thickness, material, cement plan, and which reference has final approval.
Without those records, the clinic and laboratory are left debating memory.
Memory always becomes more confident after the result goes wrong.
FAQs
Why do veneers look different one week after bonding?
Veneers can look different one week after bonding because the comparison conditions have changed: adjacent teeth have rehydrated, gingival tissues have recovered, the resin cement has undergone early optical changes, and the result is now being judged through the combined effects of ceramic thickness, stump shade, surface texture, saliva, and lighting.
The porcelain itself may not have undergone a meaningful intrinsic shade change. A controlled examination is needed to identify which layer is producing the visible difference.
How long does veneer shade take to settle?
Veneer shade should usually be reassessed after the natural teeth and oral tissues have returned to stable conditions, with dehydration-related tooth changes generally resolving within approximately 24–48 hours; a one-week review is useful because it allows normal hydration, early tissue recovery, and a more reliable comparison under standardized lighting.
A persistent mismatch after one week should be measured and documented rather than dismissed automatically as continued settling.
Can porcelain veneers change color after bonding?
Porcelain veneers can show a different final appearance after bonding because cured resin cement, ceramic thickness, stump shade, surface hydration, and surrounding teeth influence the complete optical result, although the porcelain itself is generally more color-stable than the resin layer and is unlikely to repaint itself dramatically during the first week.
Longer-term staining or cement discoloration is a separate issue from the immediate difference seen after delivery.
Can resin cement cause a veneer shade mismatch?
Resin cement can cause a veneer shade mismatch when its opacity, value, warmth, film thickness, curing behavior, or final polymerized appearance differs from the try-in prediction, with the effect becoming more visible through ultrathin, highly translucent veneers and less visible through thicker or more opaque ceramic restorations.
Cement is an optical modifier, not a reliable rescue method for a veneer fabricated with fundamentally incorrect value or opacity.
Does tooth rehydration change how veneers look?
Tooth rehydration changes how veneers look by returning dehydrated natural enamel toward its normal darker, more translucent baseline, which can make an unchanged ceramic veneer appear brighter or more opaque than it seemed beside artificially lightened natural teeth during isolation, try-in, bonding, or immediate postoperative photography.
Research indicates that natural teeth may remain measurably altered after 30 minutes of rehydration but generally approach baseline after 24 hours.
Should a veneer be replaced if the shade is wrong after one week?
A veneer should not be replaced solely because it appears different in an uncontrolled one-week photograph; replacement should follow a structured assessment of hydration, lighting, stump shade, ceramic thickness, cement selection, seating, margins, tissue health, surface texture, and the original approved try-in records.
When the mismatch remains obvious under repeatable conditions, the clinician and laboratory can determine whether polishing, surface modification, adjacent-tooth treatment, or replacement is justified.
Can the shade of a bonded veneer be changed without removing it?
A bonded veneer’s intrinsic ceramic shade cannot usually be changed substantially without removal, although limited surface polishing, reglazing, texture modification, or adjustment of surrounding tooth color may alter perceived brightness and reflection when the problem is superficial rather than located in the ceramic, cement, or underlying tooth.
The source of the mismatch must be identified before any irreversible correction is attempted.
Can one mismatched veneer be replaced without replacing the full case?
One mismatched veneer can be replaced without remaking the entire case, but success depends on reproducing the neighboring units’ value, hue, chroma, translucency, fluorescence, surface texture, gloss, ceramic thickness, substrate interaction, and aging characteristics rather than merely ordering the same printed shade code.
Artist Dental Lab’s guide to replacing one veneer in a multi-unit case explains why photographs, material records, stump shade, texture maps, and the existing cement history are needed.
Turn the One-Week Review Into Evidence
Do not tell the patient, “It will settle,” without defining what is expected to change.
Hydrate the teeth. Standardize the light. Repeat the photographs. Record the stump shade, ceramic material, thickness, cement system, surface texture, and exact location of the visible mismatch. Then compare the result with the approved try-in and immediate post-bonding records.
The hard truth is simple: a veneer shade mismatch cannot be solved by arguing about A1 versus B1 while ignoring every optical layer beneath and around the ceramic.
For technical shade review, material selection, prescription support, or a controlled anterior trial case, send Artist Dental Lab the STL files, individual stump-shade photographs, final-shade records, cement information, ceramic specifications, and standardized one-week images through the Artist Dental Lab consultation page.