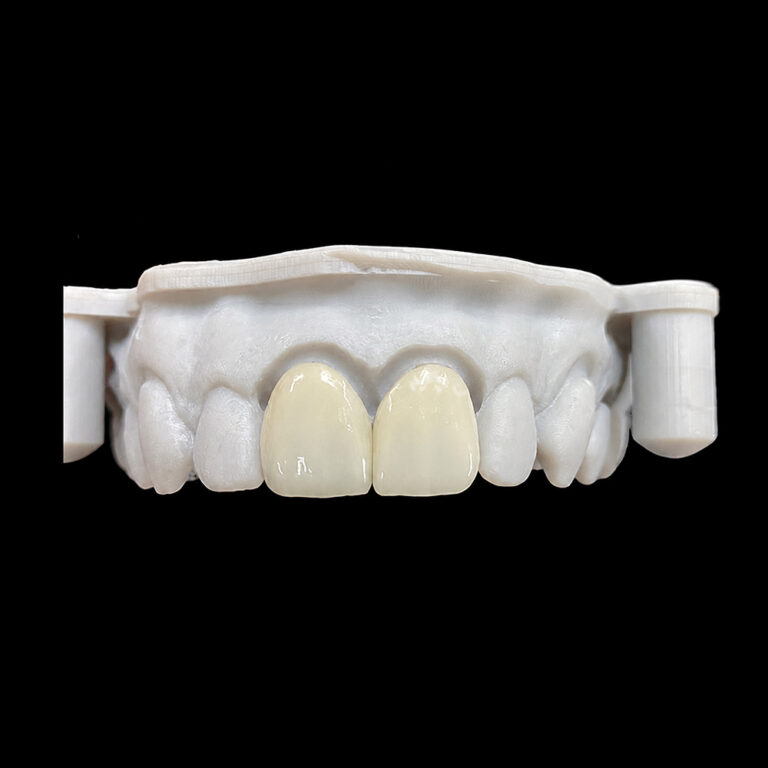
How to Scan Veneer Preparations Without Losing Thin Finish Lines
Thin margins disappear.
An intraoral scanner can generate an impressive three-dimensional model while failing to reproduce the shallow cervical finish line that determines where a ceramic veneer should terminate, leaving the dental technician with a digital surface that looks complete but lacks essential restorative information.
So what happens when the software shows a clean margin that the scanner never actually captured?
The laboratory has to guess.
That’s the problem with intraoral scanning for veneers: visual completeness is not the same as geometric accuracy.
Conservative veneer preparations often feature shallow chamfers, subtle enamel transitions, and proximal extensions that can be difficult to distinguish from surrounding tooth structure. Add moisture, bleeding, or gingival coverage, and the risk of losing those boundaries increases.
My position is simple: a scanner cannot compensate for an invisible finish line. Reliable digital impressions begin with preparation visibility and tissue control, not scanner specifications.
Why Thin Veneer Finish Lines Are Difficult to Capture
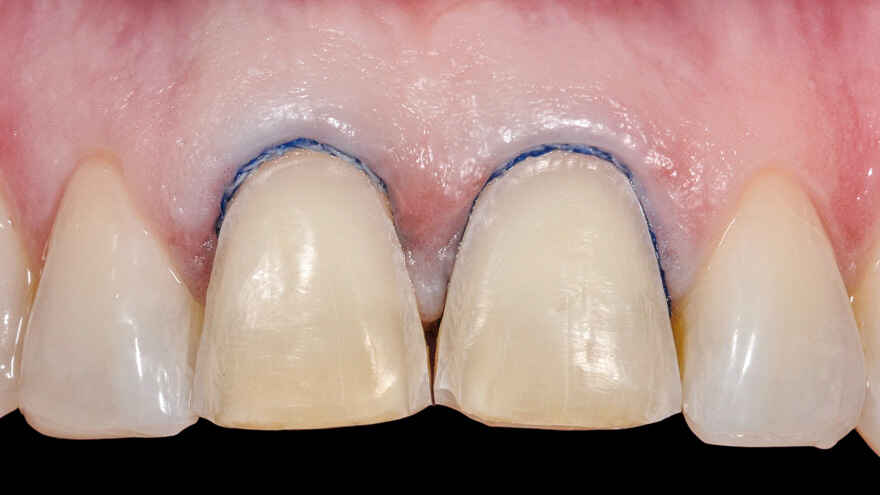
A veneer finish line is often less pronounced than the boundary of a conventional crown preparation.
This is intentional. Conservative preparations preserve enamel and avoid unnecessary removal of tooth structure.
But the same subtle geometry that supports minimally invasive dentistry presents a challenge for optical scanning.
Shallow Margins Provide Limited Geometric Contrast
A clearly defined chamfer creates a detectable change in surface direction. A very shallow margin may produce only a slight transition between prepared and unprepared enamel.
When acquisition or reconstruction smooths that transition, the digital model may no longer show the precise boundary.
The difficulty becomes greater around proximal surfaces, where adjacent teeth restrict scanner access.
Subgingival Margins Create an Optical Barrier
Consider an anterior veneer preparation with a finish line positioned 0.5 mm beneath the gingival crest.
Unless tissue displacement exposes the boundary, the scanner may capture the gingival surface rather than the underlying preparation margin.
Repeatedly scanning the concealed area will not solve the visibility problem.
The correct response is to improve access to the actual tooth surface.
Moisture Interferes With Surface Acquisition
Saliva and blood can introduce optical artifacts, obscure fine geometry, and compromise scanning consistency.
Even sophisticated equipment remains vulnerable to these conditions.
What the Research Actually Says About Veneer Scanning Accuracy
Three published studies offer useful evidence, although their experimental conditions and clinical relevance differ.
A 2024 study in the Journal of Prosthetic Dentistry evaluated 90 additively manufactured laminate veneers produced from scans made with Primescan and TRIOS 3.
Researchers compared supragingival, equigingival, and subgingival finish lines. Subgingival margins produced the lowest fabrication trueness regardless of the scanner tested.
The experiment involved resin veneers and typodont preparations, so its results should not be presented as direct clinical outcomes for bonded ceramic veneers.
Still, the implication is clear: margin location affects the accuracy of the digital restorative workflow.
An April 2026 randomized crossover clinical trial compared digital and conventional impressions with and without gingival retraction in 15 participants.
Digital impressions without retraction demonstrated poorer reproducibility for several measurements of subgingival finish lines. Retraction generally improved margin reproduction.
The prepared teeth were molars receiving full-coverage crowns, not veneers. Nevertheless, the study provides clinical evidence that tissue displacement matters when margins are concealed.
A September 2026 ceramic veneer study investigated conventional intraoral scanning against an integrated optical coherence tomography (OCT) workflow for a finish line 0.5 mm beneath simulated gingiva.
In one exploratory comparison, OCT produced a cervical marginal gap 26.7 µm smaller than the gingiva-covered Primescan workflow. However, the improvement was not consistent across every comparison or measurement.
The findings suggest potential advantages for specialized imaging, not proof that OCT eliminates the need for tissue management.
The evidence supports one practical conclusion: margin visibility and acquisition conditions deserve more attention than claims about scanner accuracy alone.
How to Scan Veneer Preparations Without Losing the Finish Line
A reliable technique follows a simple sequence: expose, control, capture, inspect, and verify.
1. Evaluate the Preparation Before Scanning
Inspect the entire cervical and proximal finish line.
Look for irregular preparation edges, incomplete transitions, and areas concealed by soft tissue.
Do not deepen an otherwise appropriate conservative veneer preparation simply to make it easier for a scanner to recognize.
Instead, verify that the actual restorative boundary is clinically identifiable.
If the margin cannot be distinguished during direct examination, digital acquisition should not be expected to solve the problem automatically.
2. Expose the Margin and Control Moisture
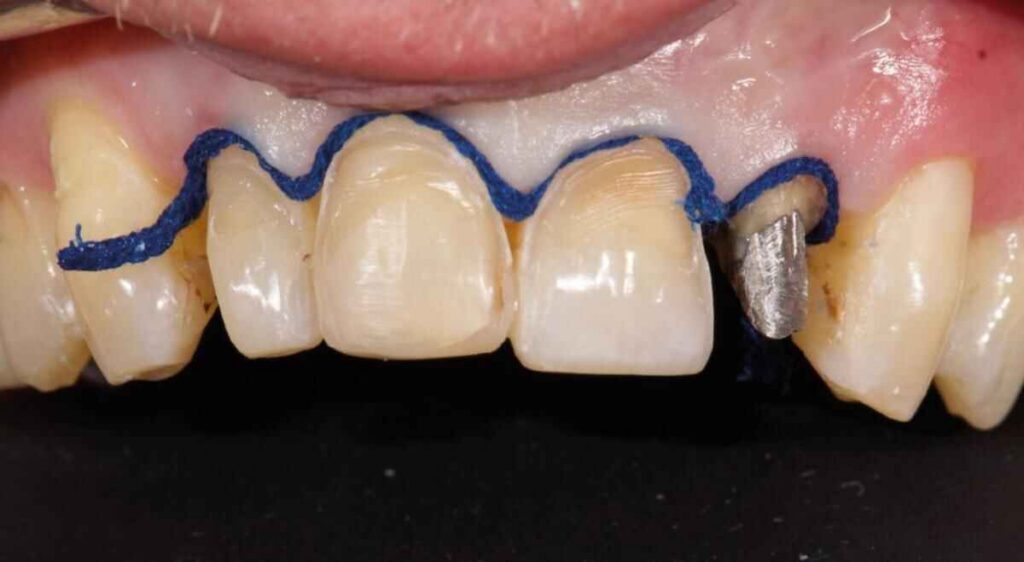
Gingival retraction for digital impressions should provide optical access to the preparation boundary without unnecessary tissue injury.
Depending on the periodontal condition and margin location, clinicians may use an appropriate retraction cord, paste, or other validated tissue-management technique.
Control bleeding and saliva before acquisition.
The aim is not maximum tissue displacement. It is sufficient, stable exposure of the finish line.
A dry, accessible margin gives the scanner a much better opportunity to reproduce the intended geometry.
3. Follow a Consistent Scanning Path
The best intraoral scanning techniques for veneers establish stable anatomical reference surfaces and maintain reliable overlap between successive images.
Follow the scanner manufacturer’s recommended sequence, adapting viewing angles to the preparation design.
Capture the incisal, facial, cervical, proximal, and any relevant palatal surfaces.
Avoid abrupt movements that repeatedly interrupt tracking.
For difficult proximal margins, reposition the scanner to improve optical access rather than repeatedly acquiring data from the same obstructed angle.
There is no single scanning path proven superior for every intraoral scanner and veneer preparation.
4. Inspect the Margin at High Magnification
Once scanning is complete, rotate and enlarge the digital model.
Examine every cervical and proximal boundary for:
Missing or rounded finish-line segments
Overlapping or doubled surfaces
Artificially smoothed transitions
Soft tissue incorporated into preparation geometry
Incomplete proximal or incisal anatomy
Do not accept a margin simply because it appears smooth.
If the geometry is questionable, correct the underlying clinical condition and rescan the affected region using the device’s approved workflow.
Never substitute a software-generated approximation for an unrecorded preparation boundary.
5. Verify the Case Before Laboratory Submission
An accurate preparation scan is only part of the information needed for predictable veneer fabrication.
The laboratory should also receive an opposing-arch record, accurate bite registration, preparation details, photographs, material selection, final shade, stump shade when relevant, and approved esthetic references.
When Should You Accept, Rescan, or Reject a Veneer Impression?
The following decision guide summarizes practical scan-quality checkpoints.
Scanning condition
Main concern
Recommended decision
Exposed, continuous finish line
Low margin-visibility risk
Accept after full inspection
Equigingival margin partially covered by tissue
Incomplete cervical geometry
Improve tissue access and rescan
Subgingival margin not visible
Scanner cannot reliably capture hidden anatomy
Do not approve until the boundary is recorded
Saliva or blood covering the margin
Optical contamination
Control fluid and reacquire
Double contours or distorted mesh
Reconstruction or registration errors
Correct the affected region and verify
Incomplete proximal finish line
Incorrect restorative termination
Reposition and rescan
These are workflow recommendations, not universal numeric acceptance thresholds.
The defining question is whether the technician can identify the actual finish line confidently.
Why the Dental Laboratory Must Verify Margins Independently
CAD software can assist with margin identification, but it cannot recover geometry that was never recorded.
If a technician places a margin too far coronally, part of the preparation may remain uncovered. If the margin extends beyond its intended position, the restoration may develop an unsuitable cervical contour.
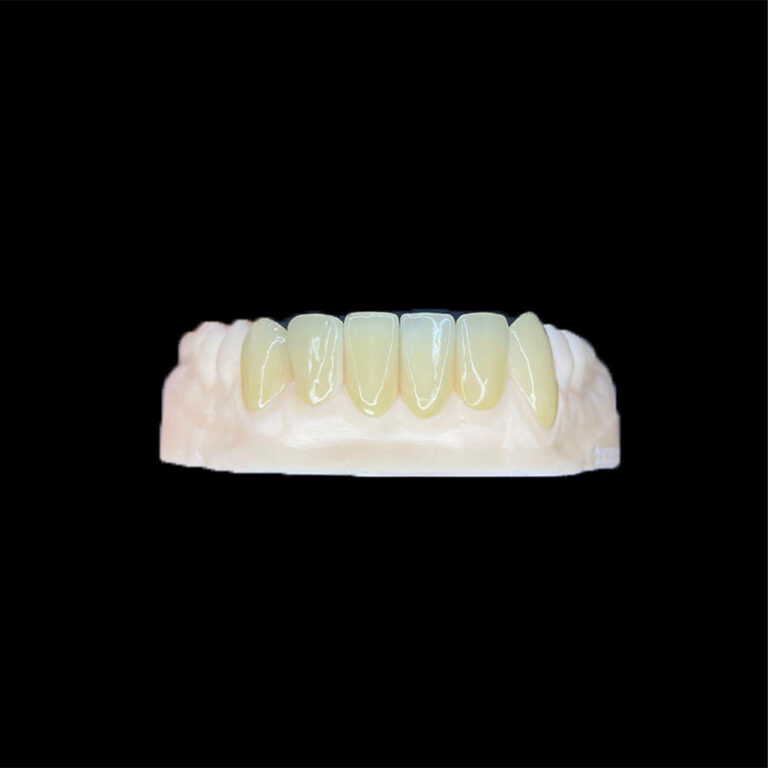
Neither outcome is desirable, particularly with thin lithium-disilicate veneers where accurate adaptation and thickness control matter.
A questionable scan should trigger communication with the clinician, not an invented CAD boundary.
FAQs
What is the best way to scan thin veneer finish lines?
The best method for scanning thin veneer finish lines is a margin-first digital impression technique that combines clear preparation geometry, appropriate tissue displacement, effective moisture control, consistent scanner movement, multiple viewing angles, and detailed inspection of the resulting digital mesh before accepting the impression for laboratory fabrication.
The most important acceptance criterion is a continuously identifiable preparation boundary.
Can intraoral scanners accurately capture subgingival veneer margins?
Intraoral scanners can capture subgingival veneer margins when the preparation boundary is adequately exposed and moisture is controlled, but accuracy becomes less predictable when gingival tissue obstructs the scanning field, particularly with shallow finish lines that provide limited geometric contrast between prepared and unprepared tooth surfaces.
If the actual finish line remains concealed, clinicians should improve tissue access or consider another validated impression technique rather than relying on software reconstruction.
Does a more expensive intraoral scanner produce better veneer margins?
A more expensive intraoral scanner does not automatically produce more accurate veneer margins because clinical visibility, preparation design, moisture management, acquisition technique, software processing, and operator verification all influence the recorded geometry; equipment comparisons must therefore evaluate margin-specific performance under comparable clinical conditions rather than relying exclusively on price or general accuracy specifications.
Scanner selection matters, but a reliable workflow matters just as much.
Final Thoughts: Give the Laboratory a Margin It Can Trust
The greatest risk in digital veneer scanning is not always an obvious technical failure.
It is a convincing digital model that hides incomplete preparation information.
A clinician may see a complete tooth. The technician may see a questionable margin. The resulting restoration is only as dependable as the information both parties are using.
For conservative ceramic veneers, I would prioritize three things above everything else: visible finish lines, verified scan geometry, and clear laboratory communication.
Before sending your next veneer case, inspect the cervical and proximal margins, resolve uncertain scanning regions, and provide the records needed for accurate restorative design.